Week 12: Molding & Casting

Molding & Casting
This week, we learned how to make a mold and then cast a desired material into it. The process is divided into three work sections:
Creation of the Original Mold: First, we create a 3D design that serves as the basis for the mold. The 3D design is then transformed into a tangible form using a CNC mill.
Making the Silicone Mold: After the master model is completed, we use silicone to create a negative mold of it. The silicone is poured around the master model and cures to form a negative copy of the model.
Casting: In the final step, we use the silicone mold to cast the final product. A variety of materials such as resin, plaster, or even metals can be used. This process is generally referred to as "casting".
In the industry, molding and casting are very widespread. This is mainly because it is very cost-effective to produce in this way. Creating the mold can be complex and expensive, but because it can be used so diversively, it then becomes very cost-effective.
We can create one-sided and multi-sided molds.
1-Sided Mold:
- Analogic or digital
- Simple geometry
- One flat surface
- No overhang
Several Sides Mold:
- Analogic or digital
- Complex geometry
- Volumetric
- Overhang
Creation of the Mold: Design & Milling
To create the mold, we can use a 3D program of our choice. It is important that we can then export our design as an STL file and prepare it for the cut. We use special software called Modela for this.
We learn that we should first make a rough cut and then proceed to finer cuts. If we were to start finely right away, the cut would take much too long. It is important that we leave enough space on the sides (6 mm) to ensure that the sides do not break and we can later make our silicone mold well. Also, a distance of 4 mm is recommended between individual parts as well as between our molds and the wall. Moreover, it is important that there is at least 5 mm distance from the mold to the top.
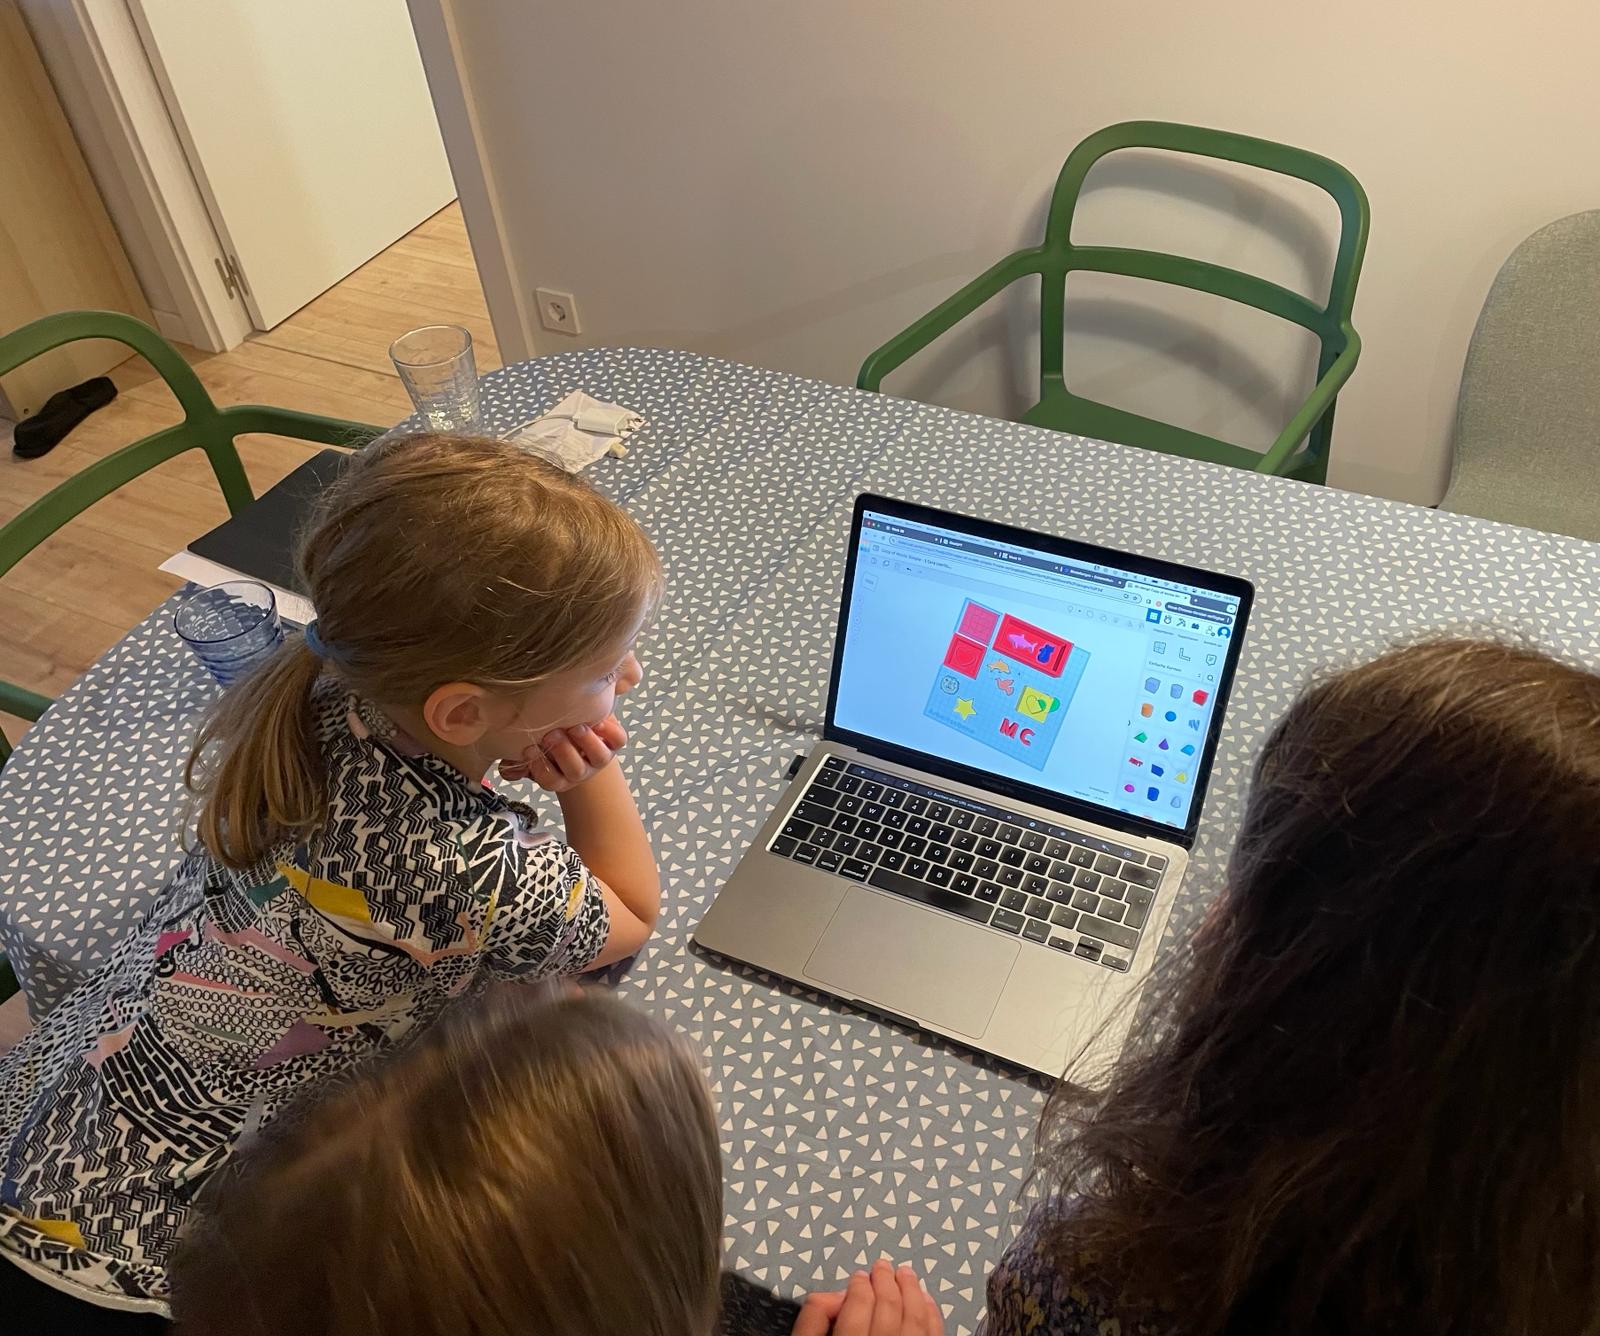
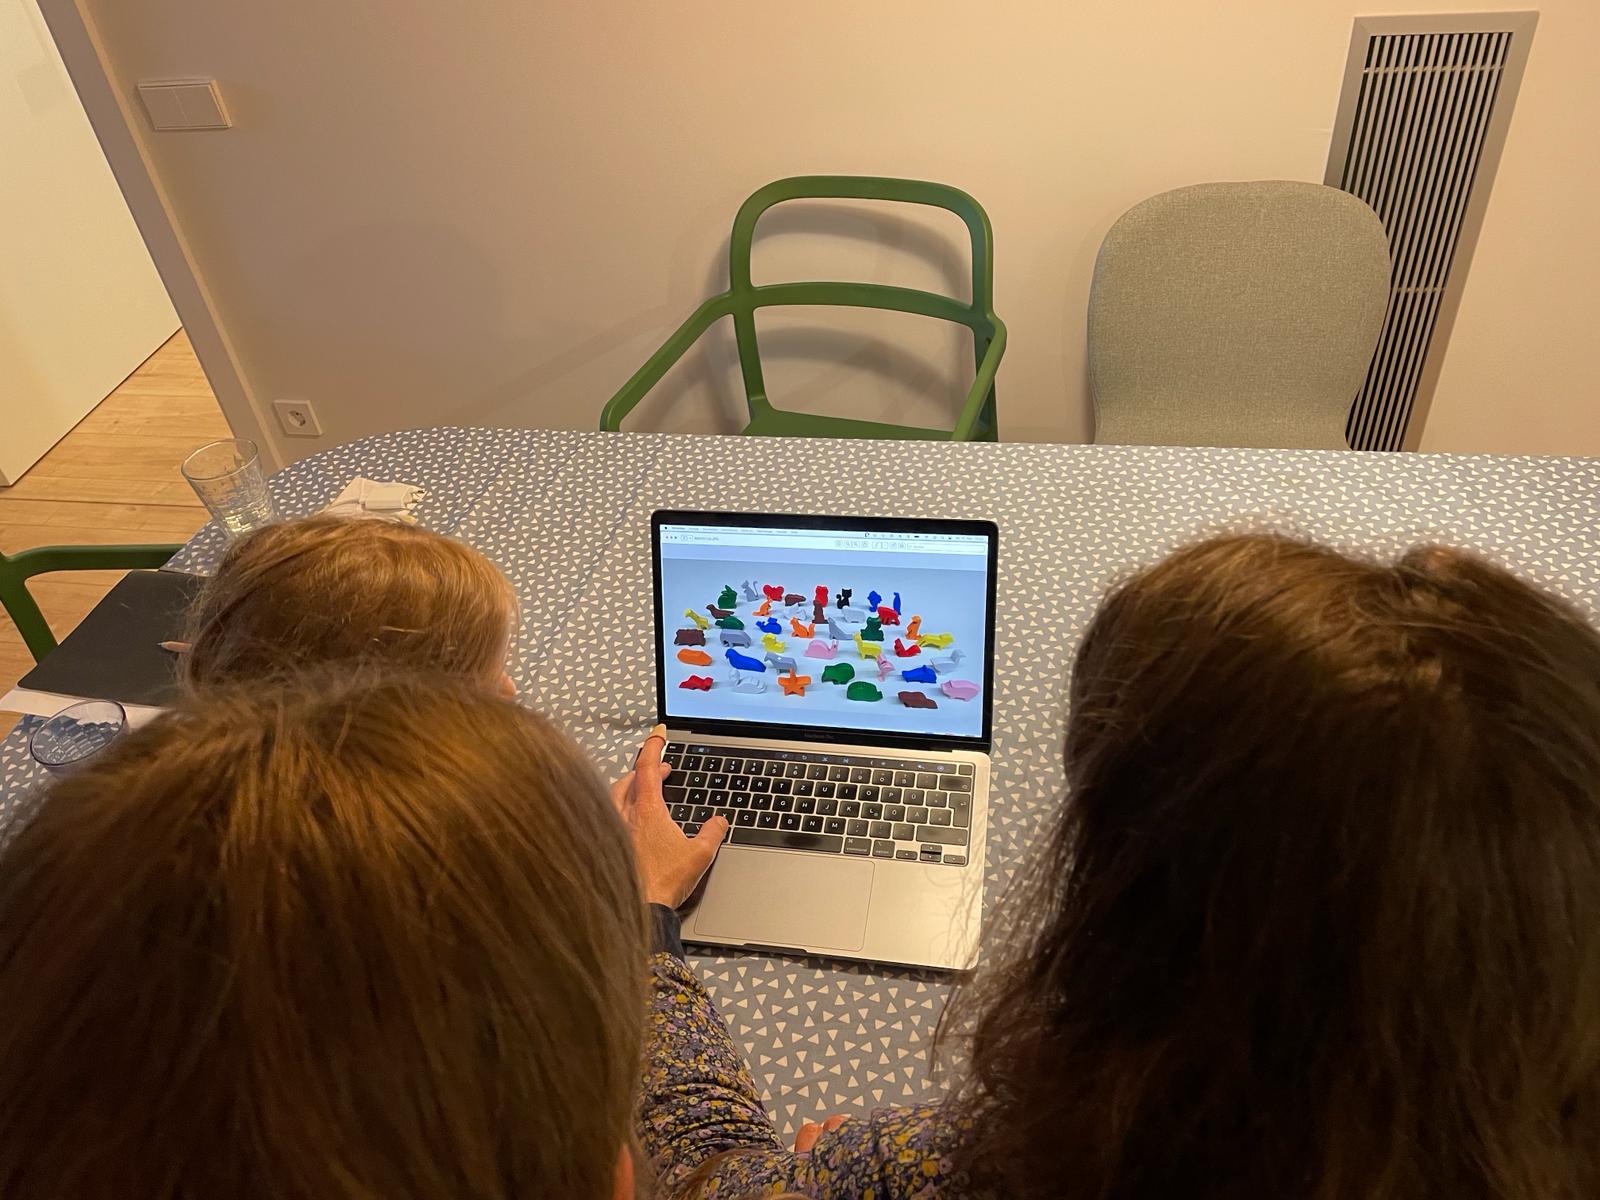
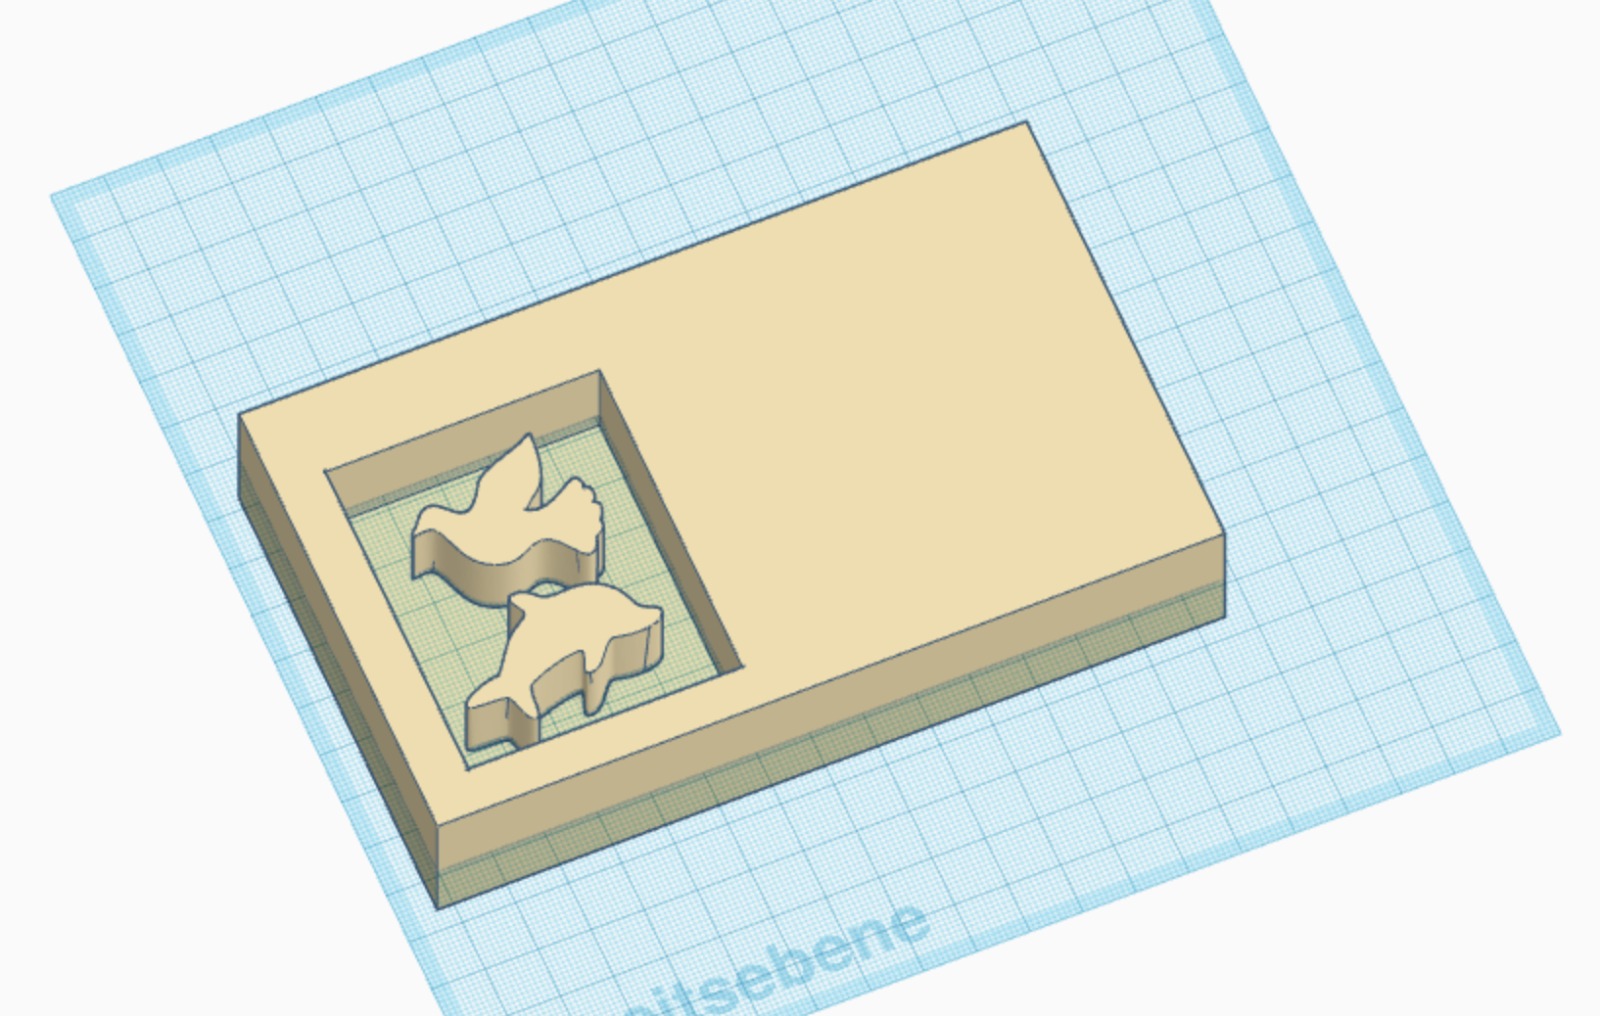
Since the 3D mold can also be made in Tinkercad, I thought that this might again be a topic that I could work on together with my children. I explained the process to them, and then together we picked out a file from Thingiverse that we wanted to cast . Both chose an animal. We then built a mold in Tinkercad. This was relatively easy. Unfortunately, it is not possible in Tinkercad to bevel the walls of the mold without a workaround. I could have looked for a workaround, but then I thought it would be easier to import the STL file into Rhino and then bevel the walls. However, this turned out to be more difficult than expected.
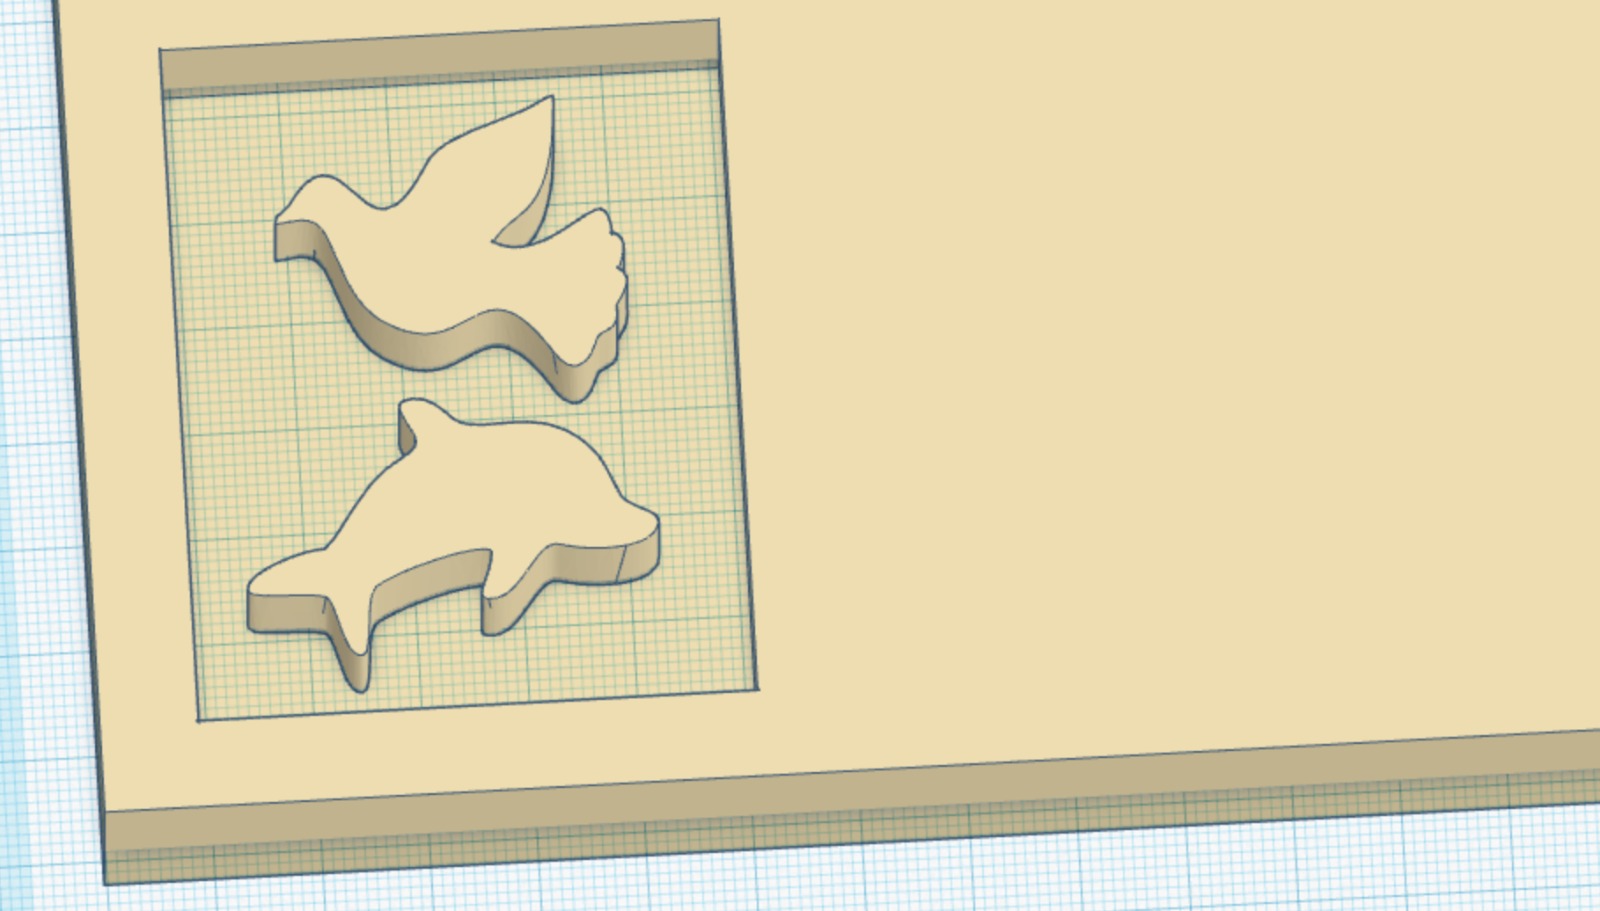
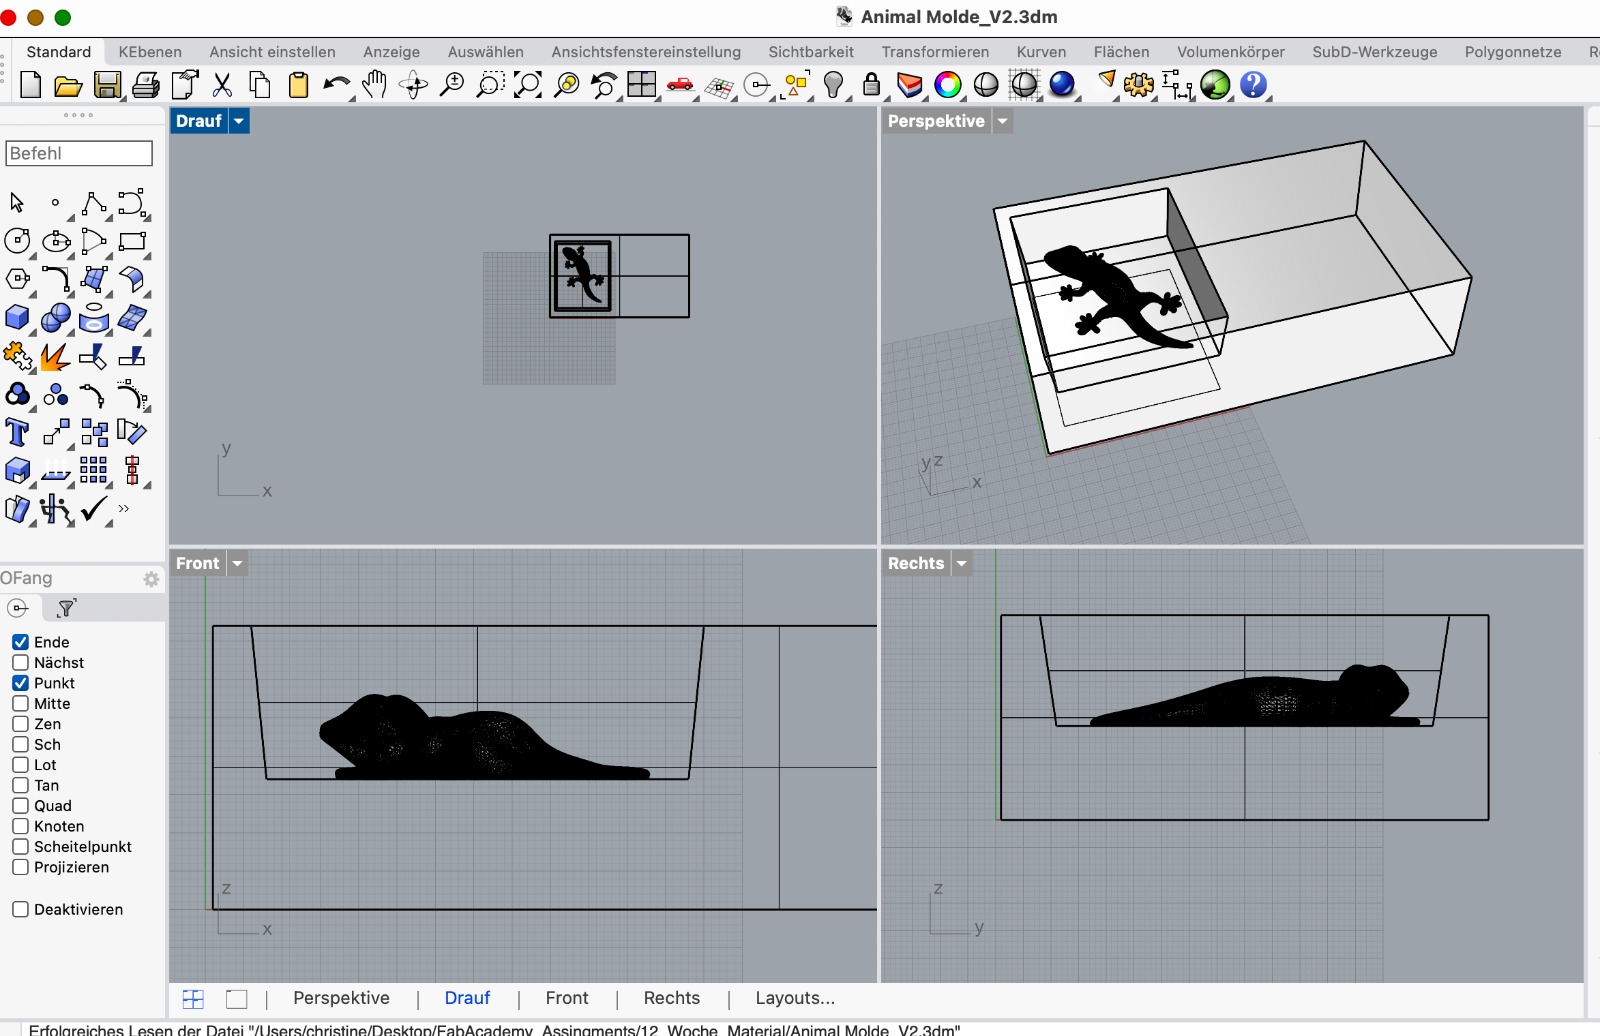
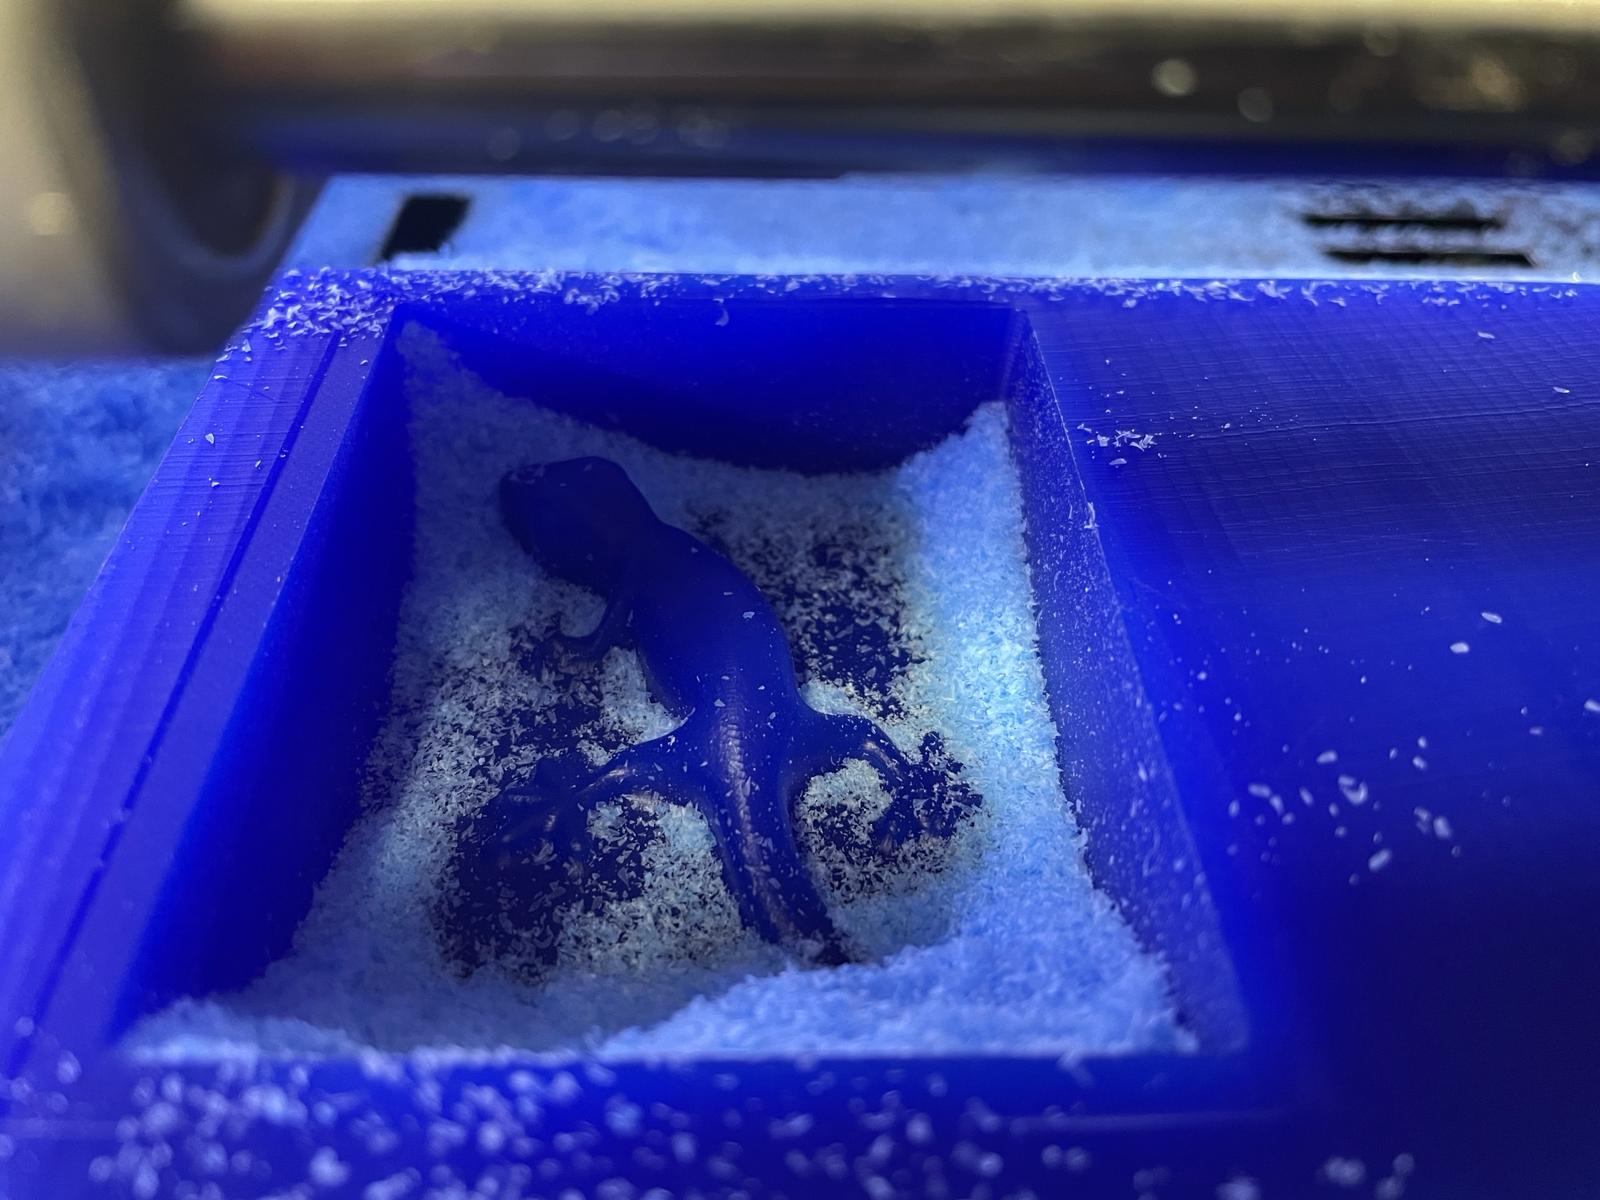
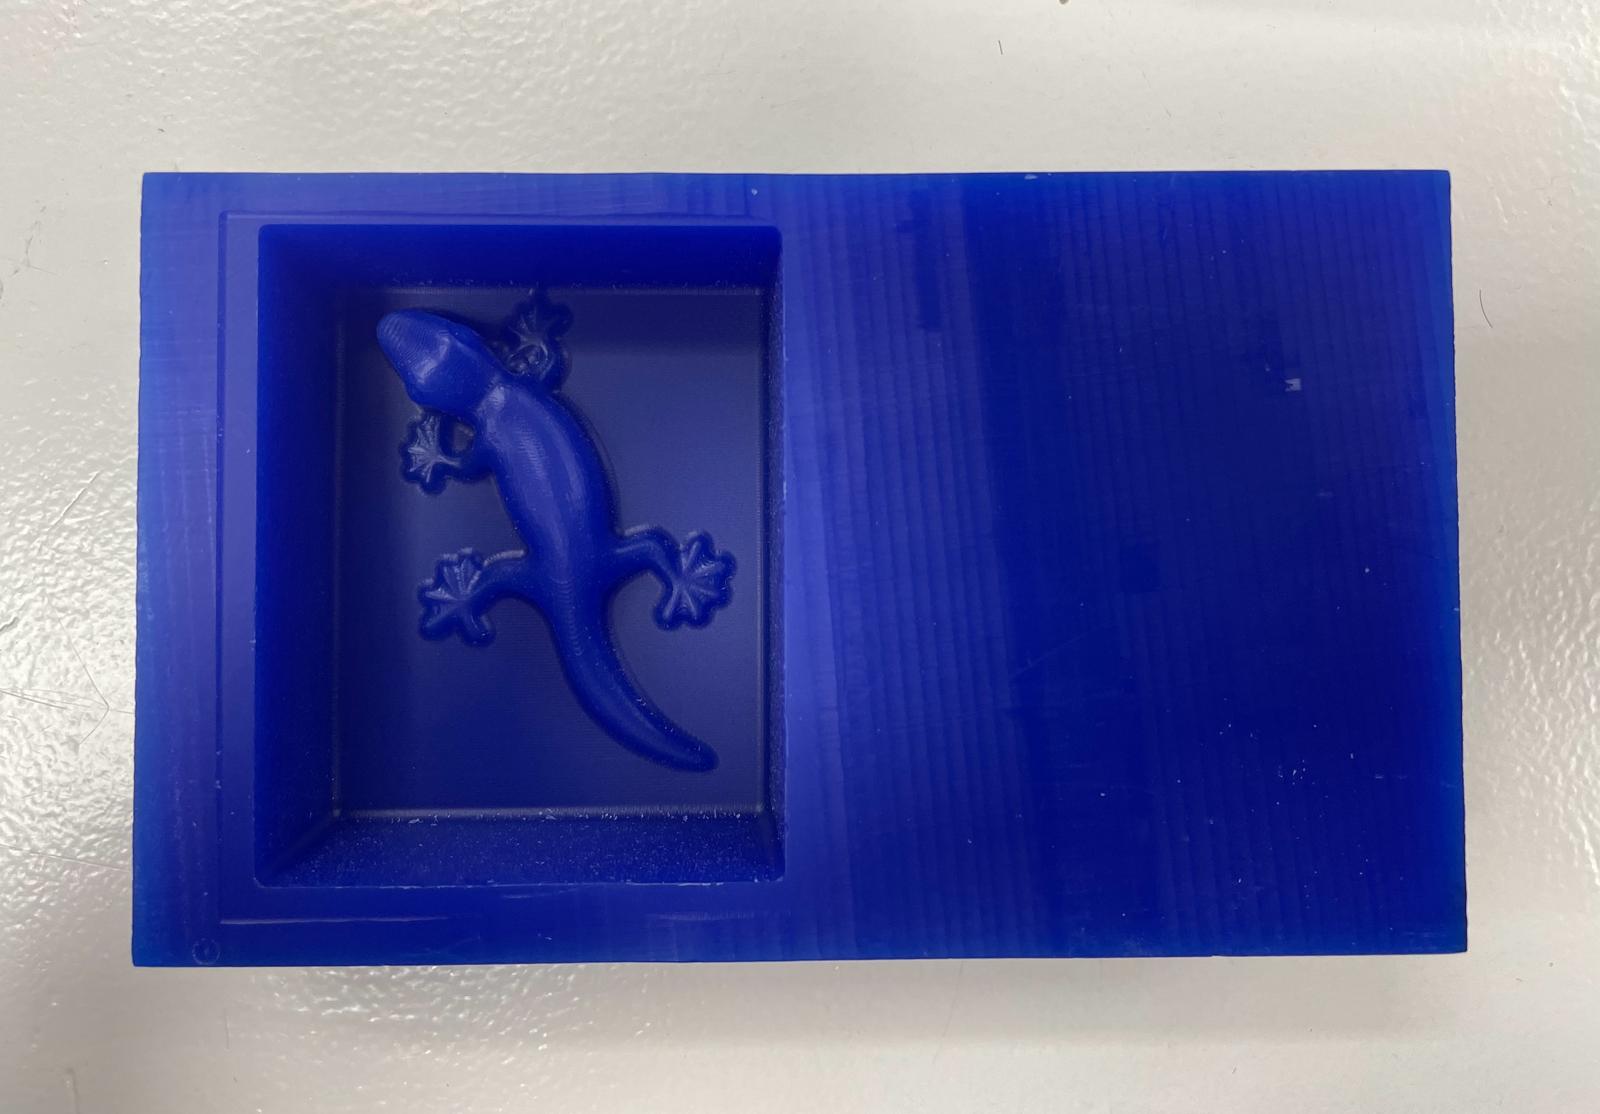
My tutor recommended using Blender and helped me with it. But since I had not worked with Blender before, I did not get very far. I then switched back to Rhino. Unfortunately, I found it difficult to work with the file that I had previously created in Tinkercad. Ultimately, I decided to simply rebuild the file in Rhino. I then also chose a different animal. On the sides, I chose an angle so that the sides were not quite straight. This worked well. Then I had to prepare the file for the mill. For this, I first exported it as an STL file.
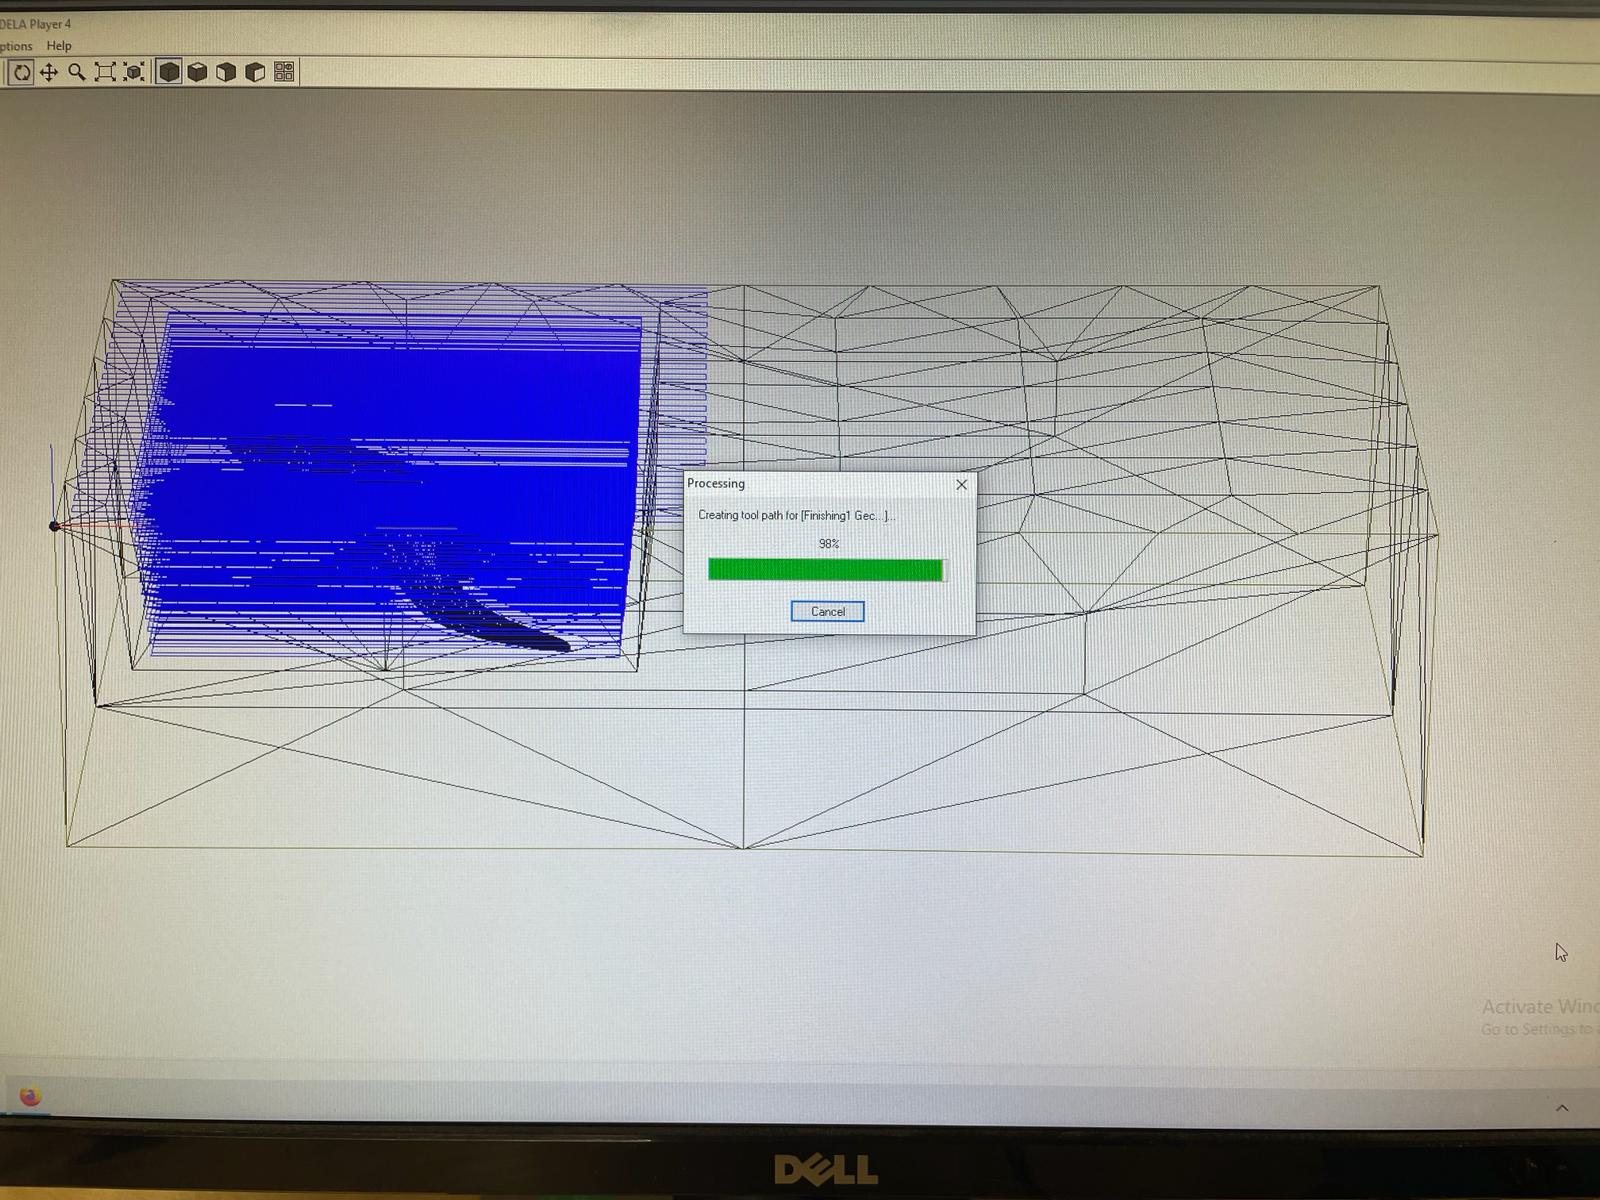
Preparation with Modela
The software we use to prepare the file is called MODELA Player 4. It is software that works with the machine. We use a Endmill: 1.78 mm (flat for roughing and round for finishing)
- Select Maschine: SRM-20
- Open the file
- The origin is also the origin of the machine. We should move it to the corner.
- Model > Origin > Select a corner
- Origin: Bottom left corner, top
- Material: Modeling Wax
- Options: For a rough cut (Rough Cut), always use a Flat Mill.
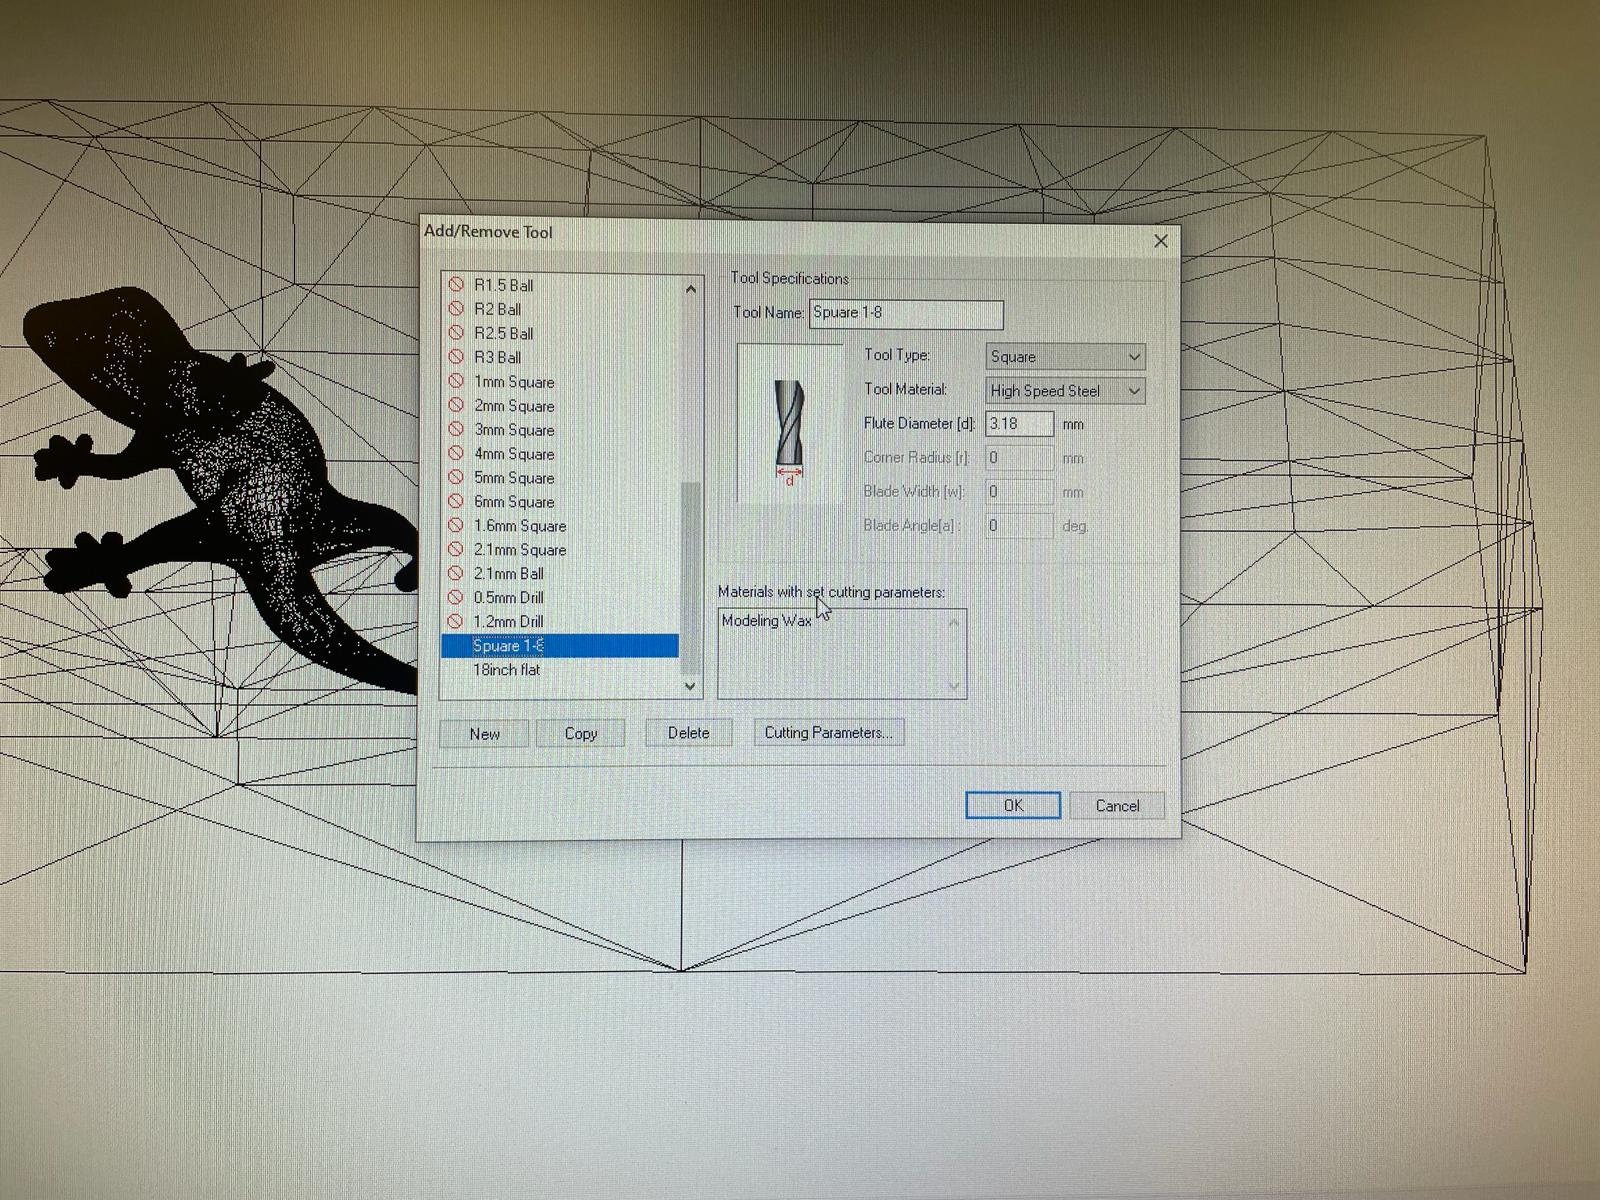
Create NEW Tool
- Name: 1-8 inch Tool
- Type: Square
- High Speed Steel 3.18
- Select Material: Modeling Wax
- Set Parameters (it will be calculated for us)
- We have Surfacing, Roughing, Finishing (first we choose Roughing)
- Click Register
Next Endmill: Create NEW
- Name: 1-8 inch Ball
- Type: Ball
- High Speed Steel 3.18
Roughing Operation
- We select the endmill that we previously set
- > Next
- Set the cutting Area: Partial: Now we can change the red box to adjust the size of the area being milled. This reduces the time needed for milling. Depth can be left as it is.
- > Next
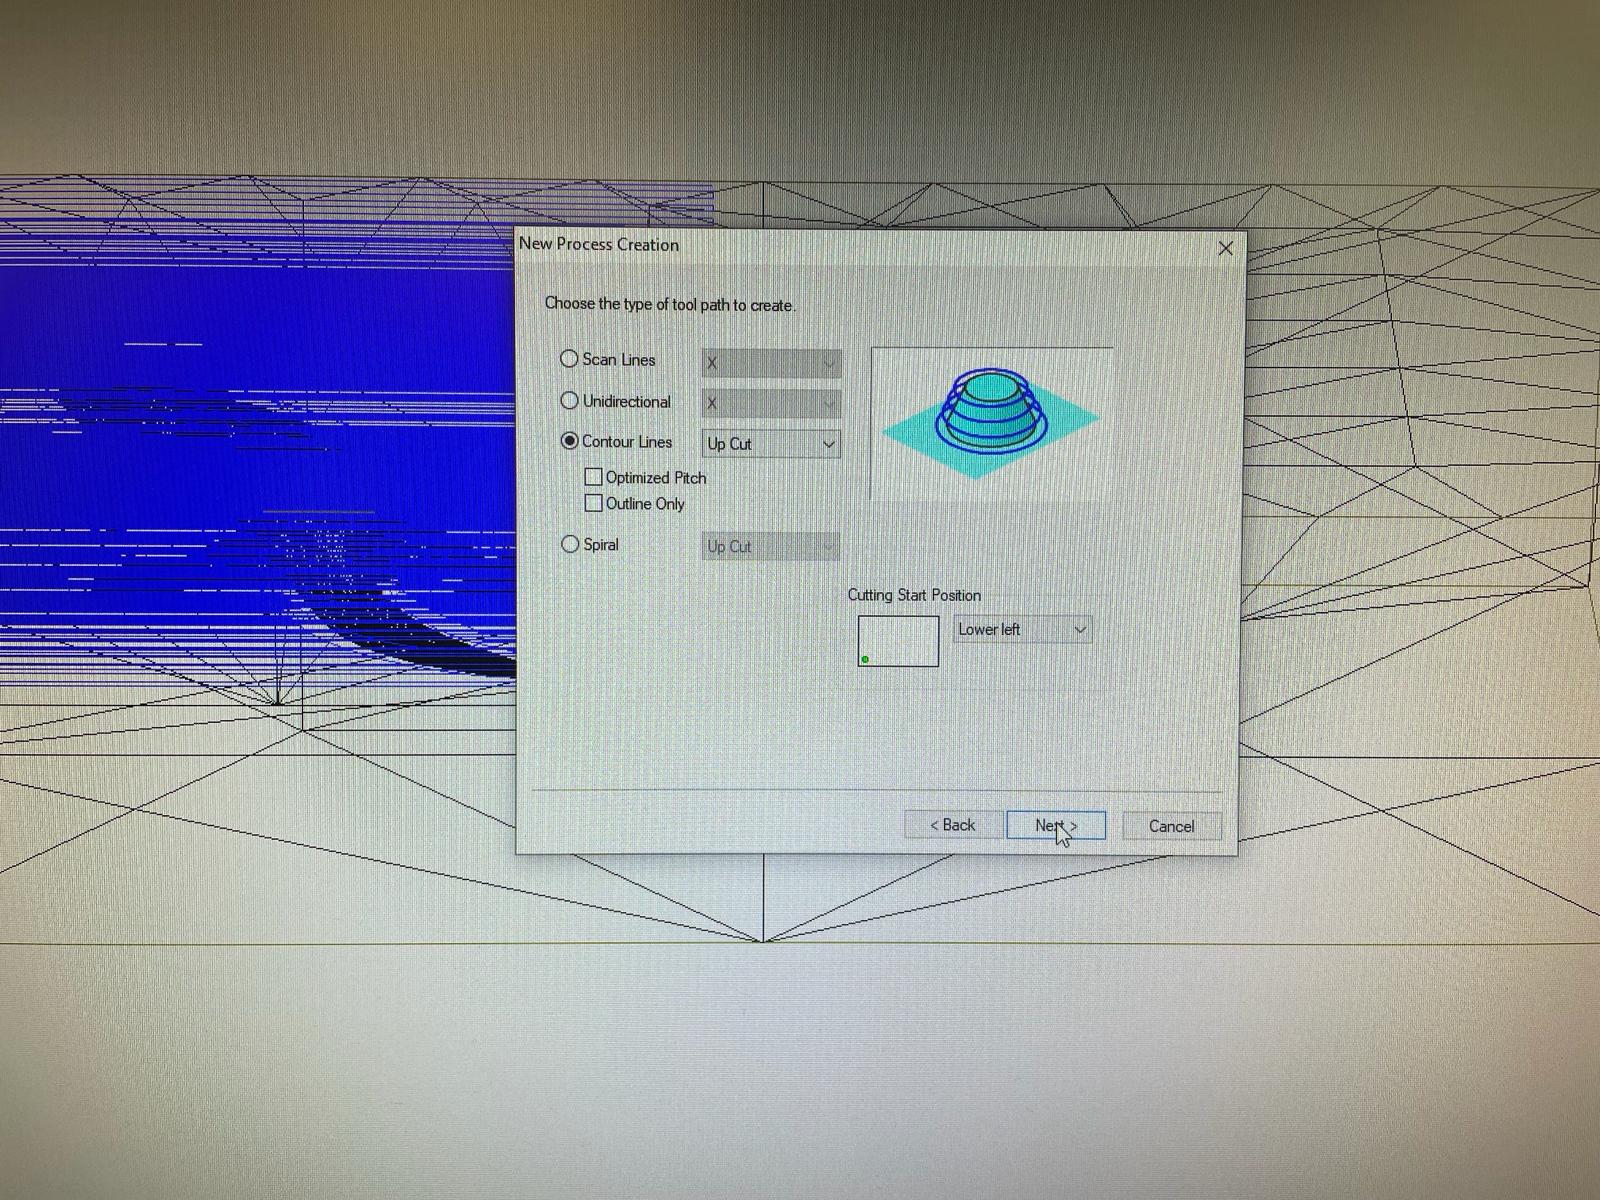
- Counter Lines (this is right for the Rough Cuts)
- > Next
- Set the cutting parameters (no changes necessary). However, you can set the Cutting Amount to, for example, 1.5 to make it faster.
- > Next
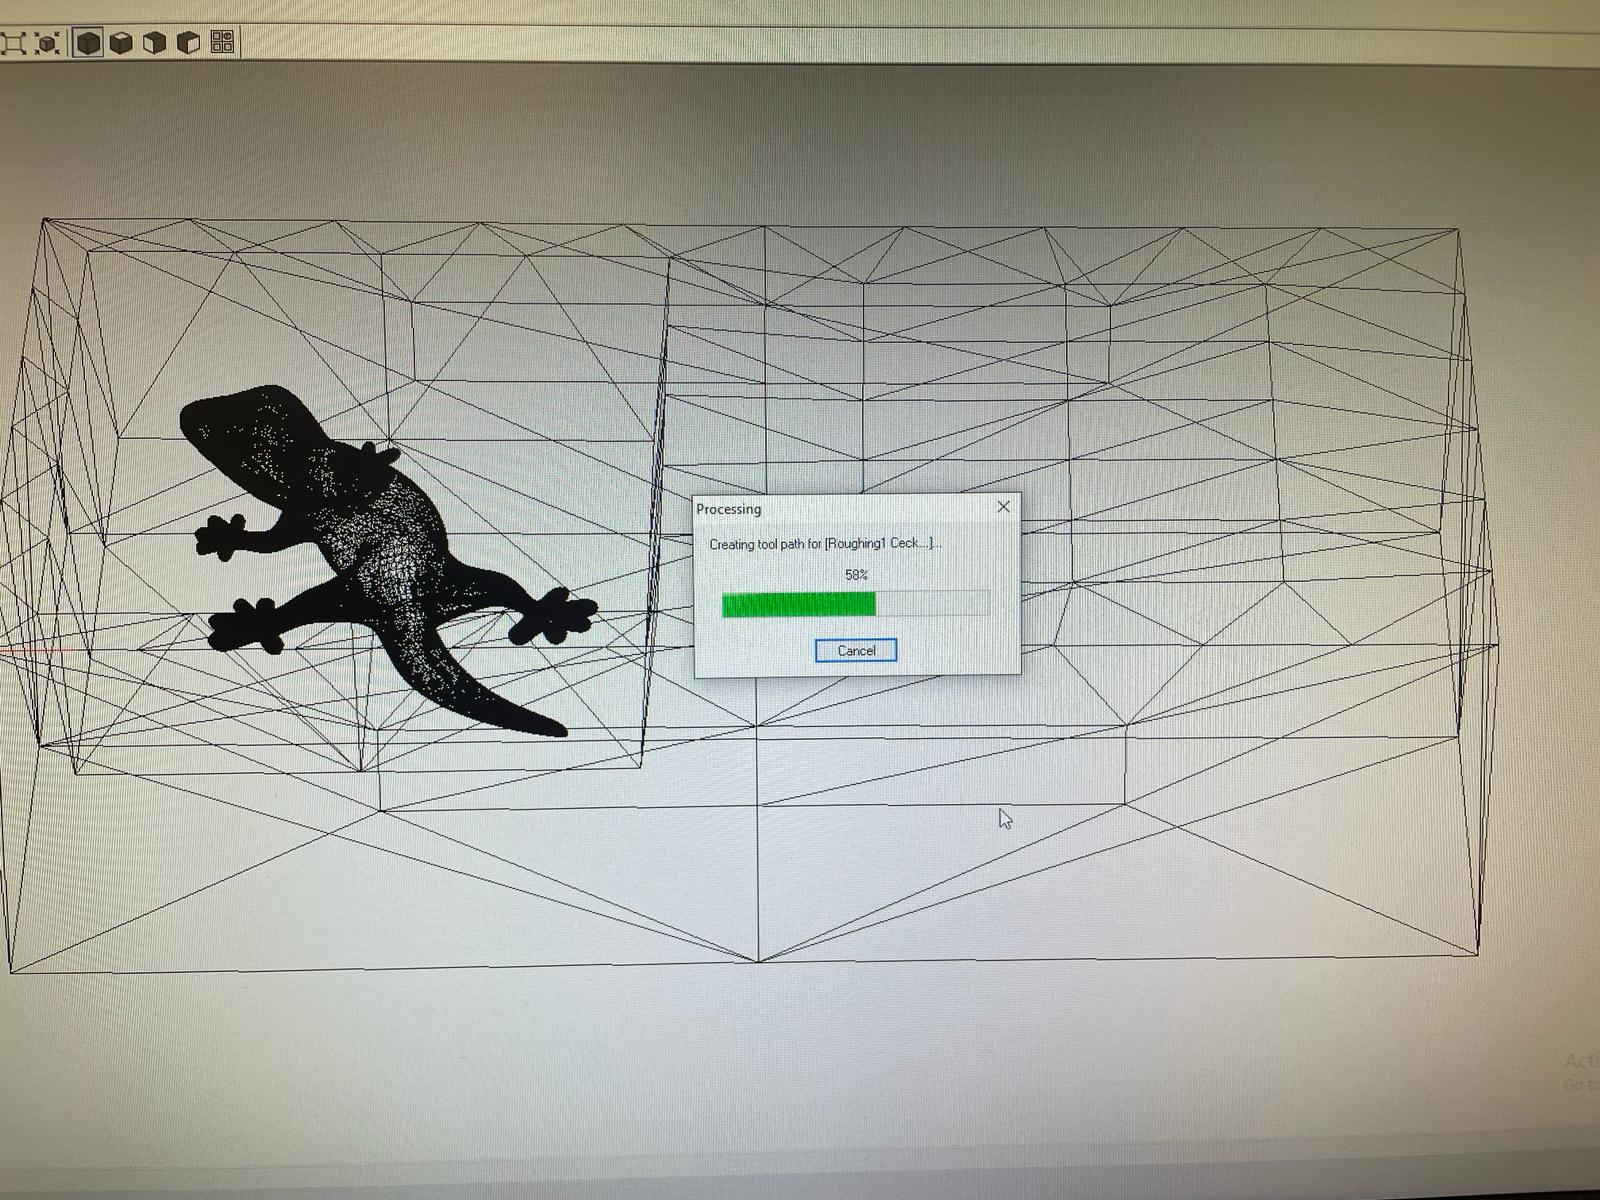
- Create the tool path (This will take some time)
Finishing Operation
- We select the endmill that we previously set
- > Next
- Set the cutting Area: Partial: Now we can change the red box to adjust the size of the area being milled. This reduces the time needed for milling. Depth can be left as it is.
- > Next
- Here, not the Contour Lines (Up Cut or Down Cut are okay)
- > Next
- ath Interval (preset 0.2) With the ball endmill you want as fine as possible
- > Next
- Create the tool path (This will take some time)

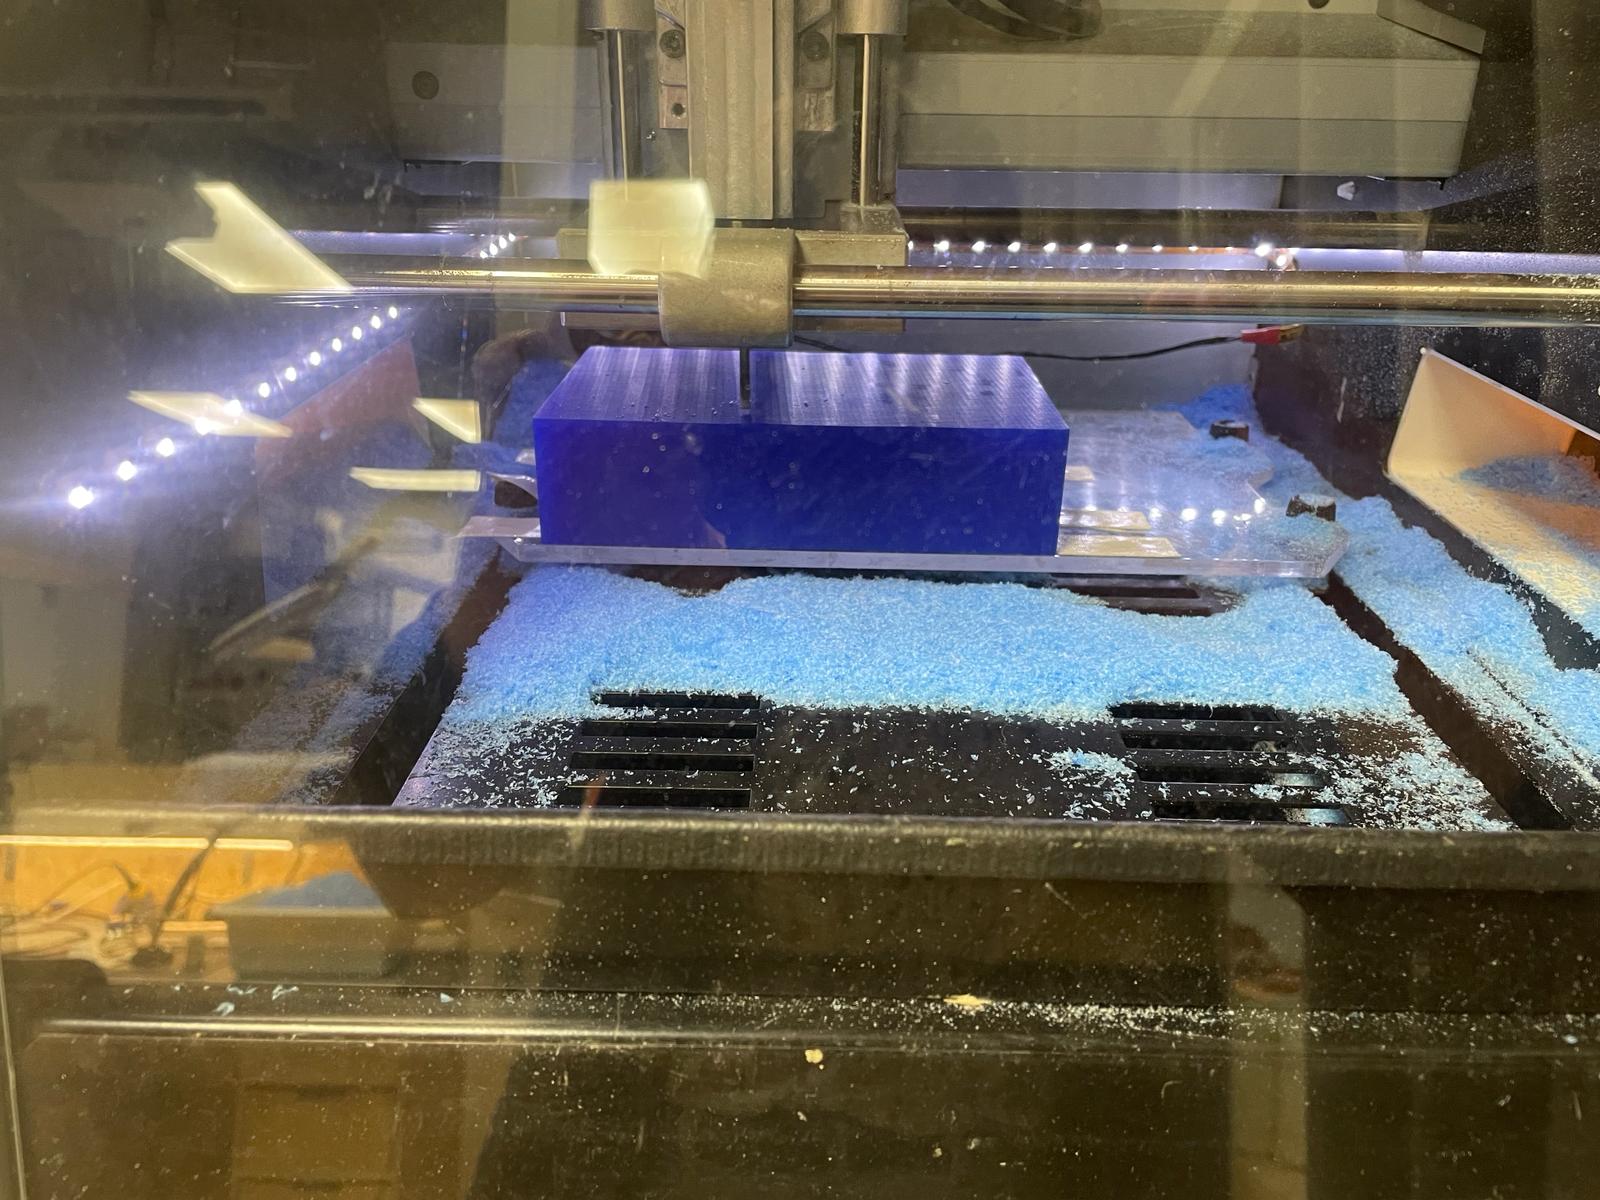
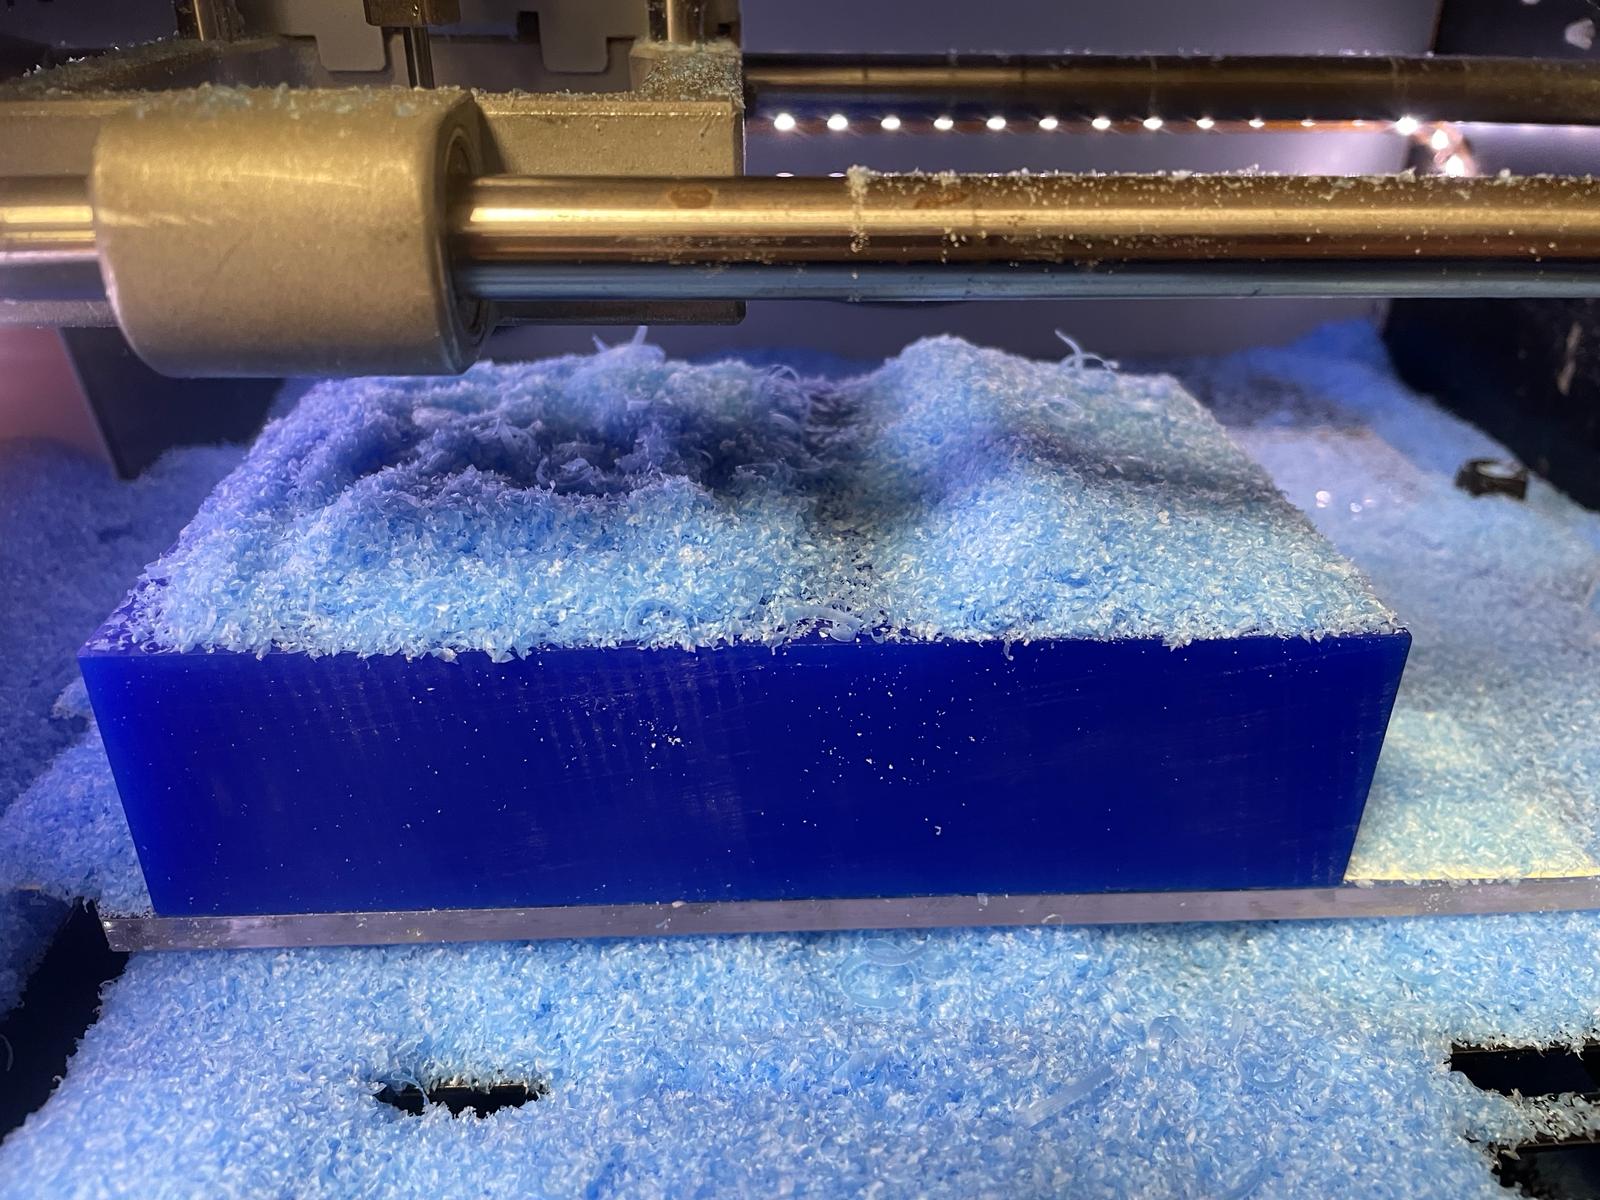
Milling
Since we used the same CNC machine that we also use for milling PCBs, the milling process was already very familiar to me. First, I had to fix the wax block in place and then select and screw in the right endmill. Next, I set the XZ zero. After that, I set the Y zero by positioning the endmill close to the surface of the wax and then letting it drop onto the wax. Then I set the Y zero. I was then able to open the file through the stored program, and the cut began. I first performed the rough cut. After that, I changed the endmill (to a ball endmill) and performed the fine cut. Everything went well.
Making the Silicone Mold
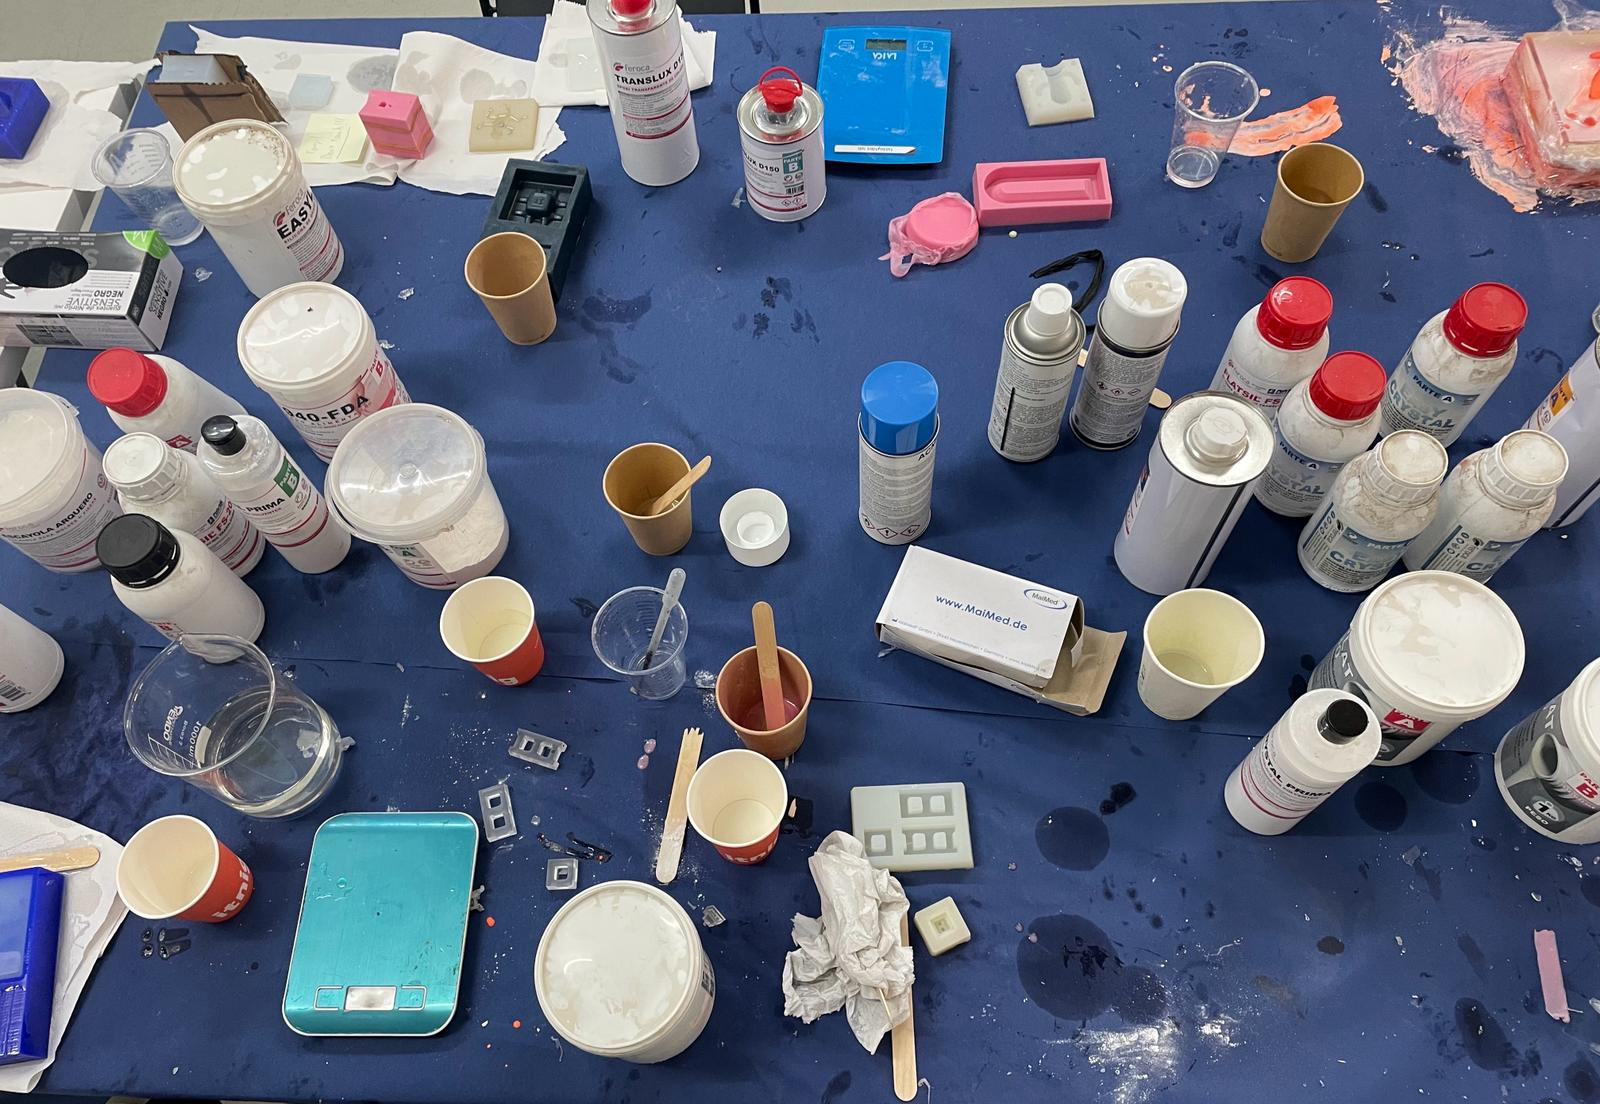
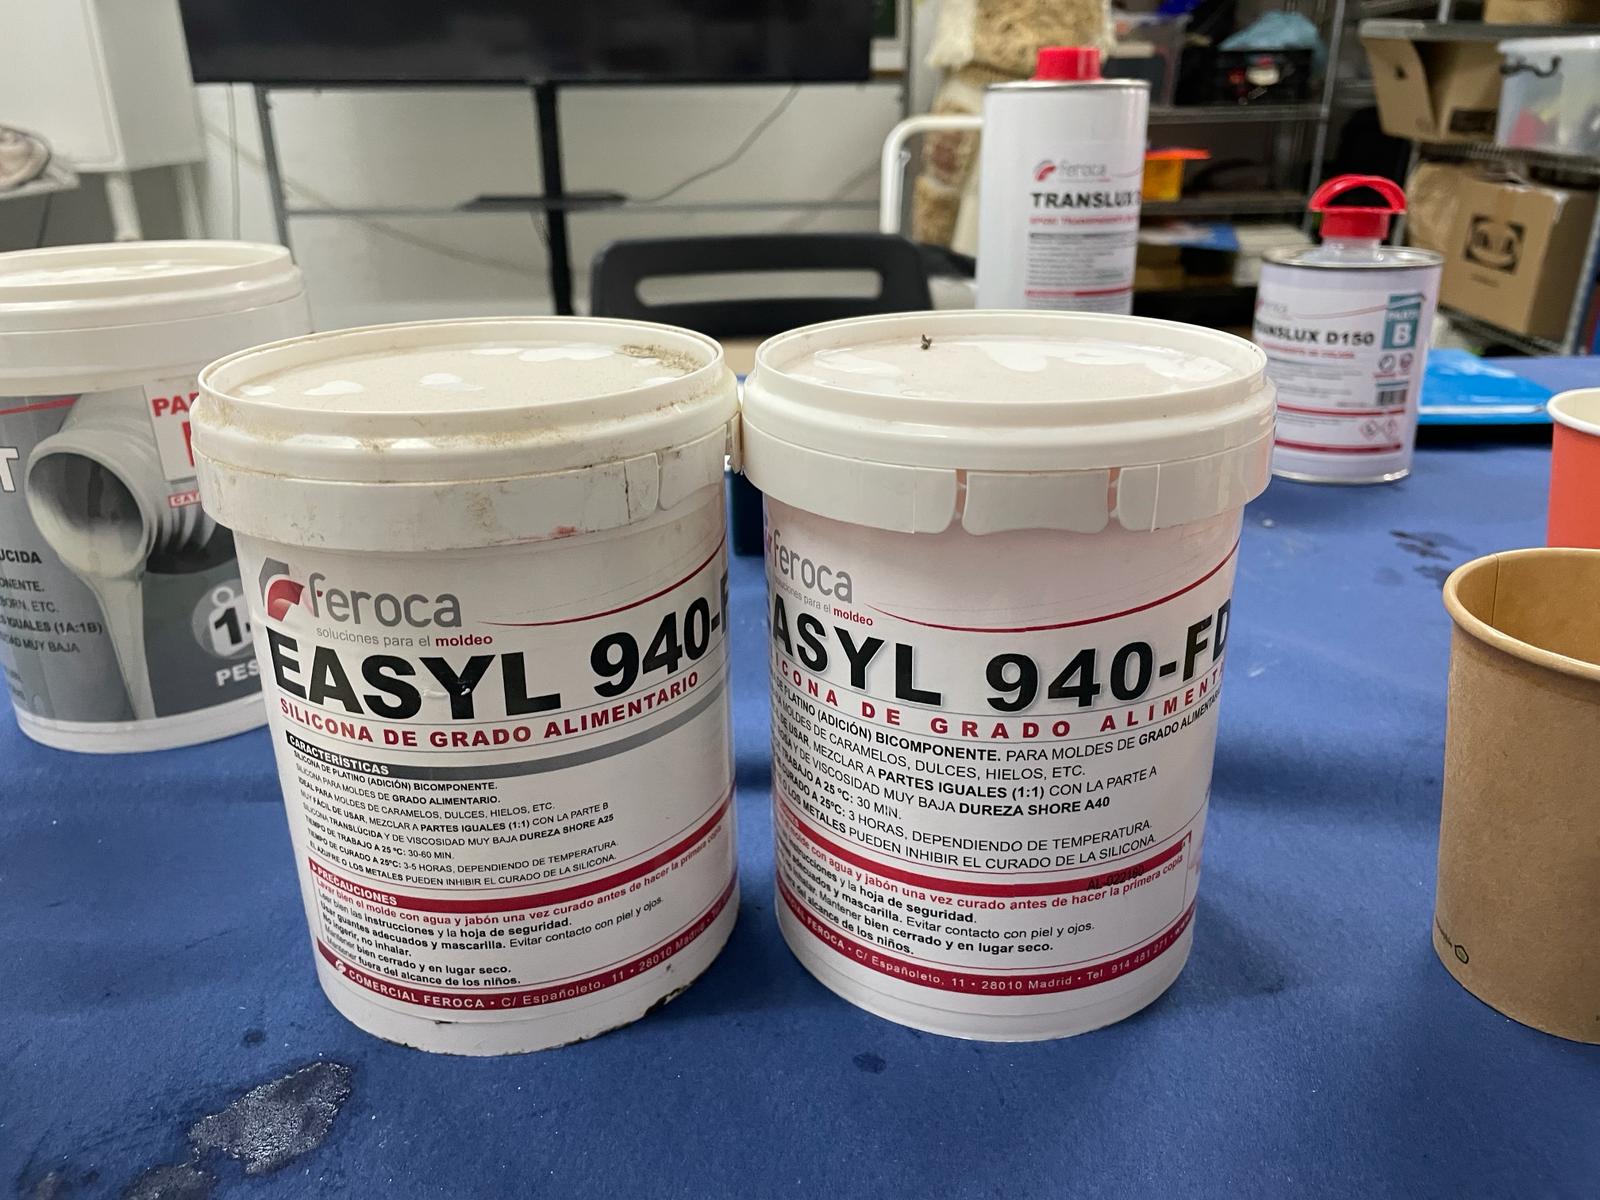
There are very different materials available to make the silicone molds. It is important that we look at the packaging and the datasheet to see how to mix the silicones. Many are mixed 1:1, but some have a different mixing ratio. It is also important that we remember the processing time. There is a silicone that dries very quickly (30 minutes). Then, we only have a very short processing time. During this time, we must mix the two materials quickly and pour them into the mold. All important information can always be found on the datasheets.
If you have a hard final product, the mold should be soft, and vice versa. For casting, we can use very different materials. It is also possible to make molds into which we can cast food (e.g., chocolate). However, this requires special processing. After the silicone has dried, it must be baked in the oven at 100 degrees for 4 hours.
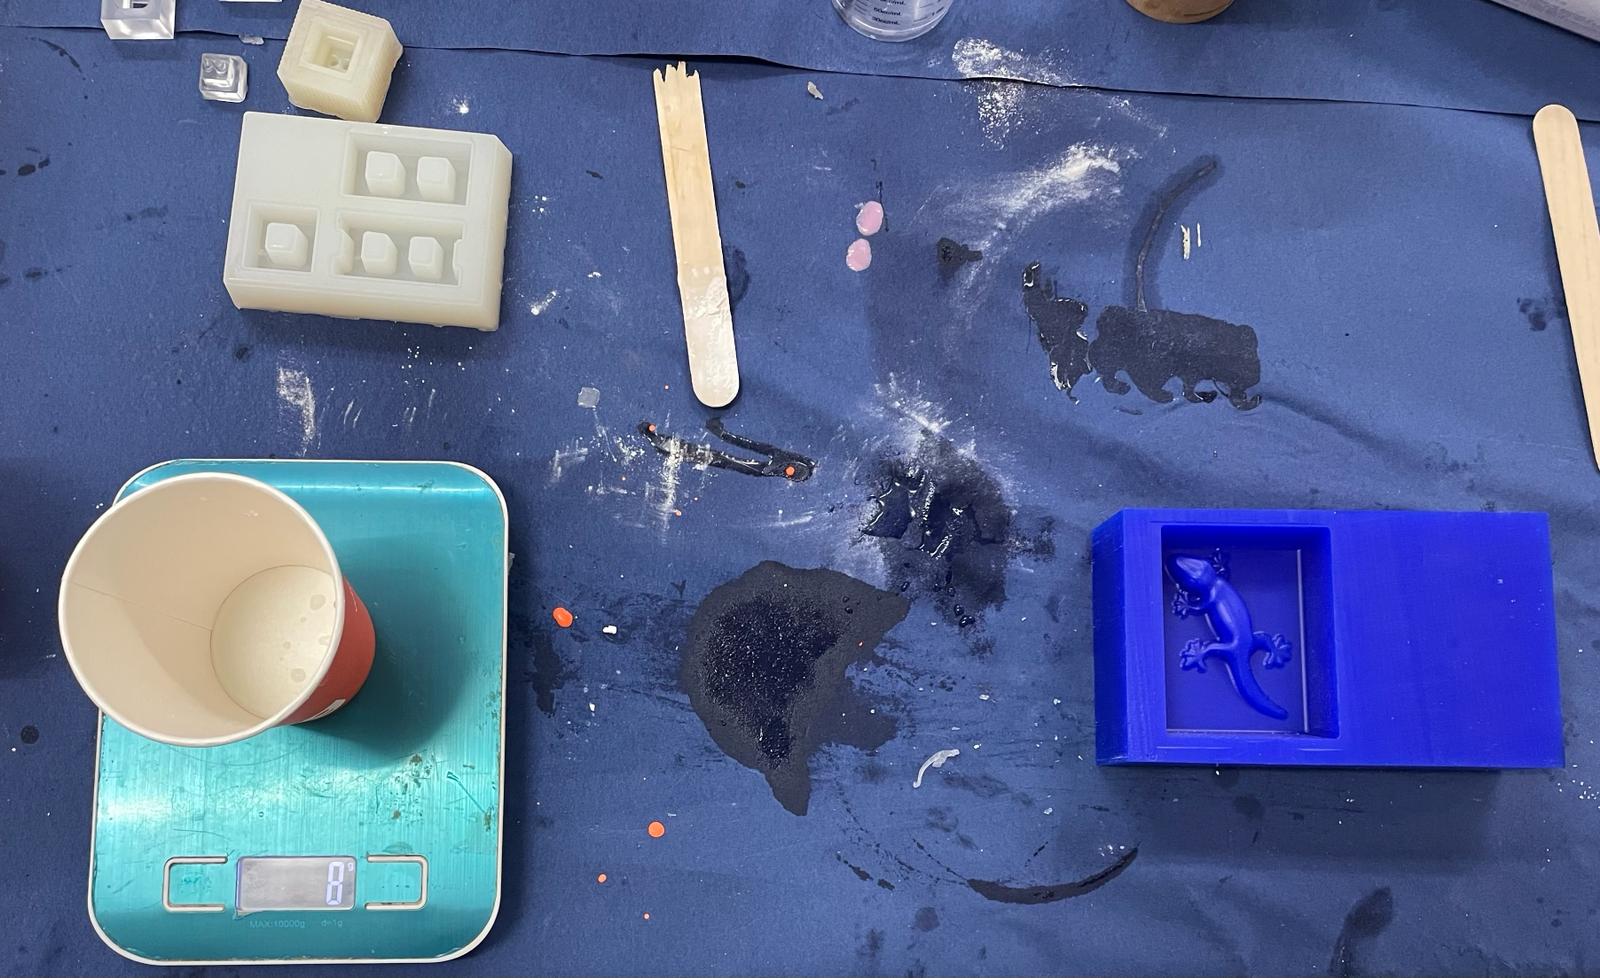
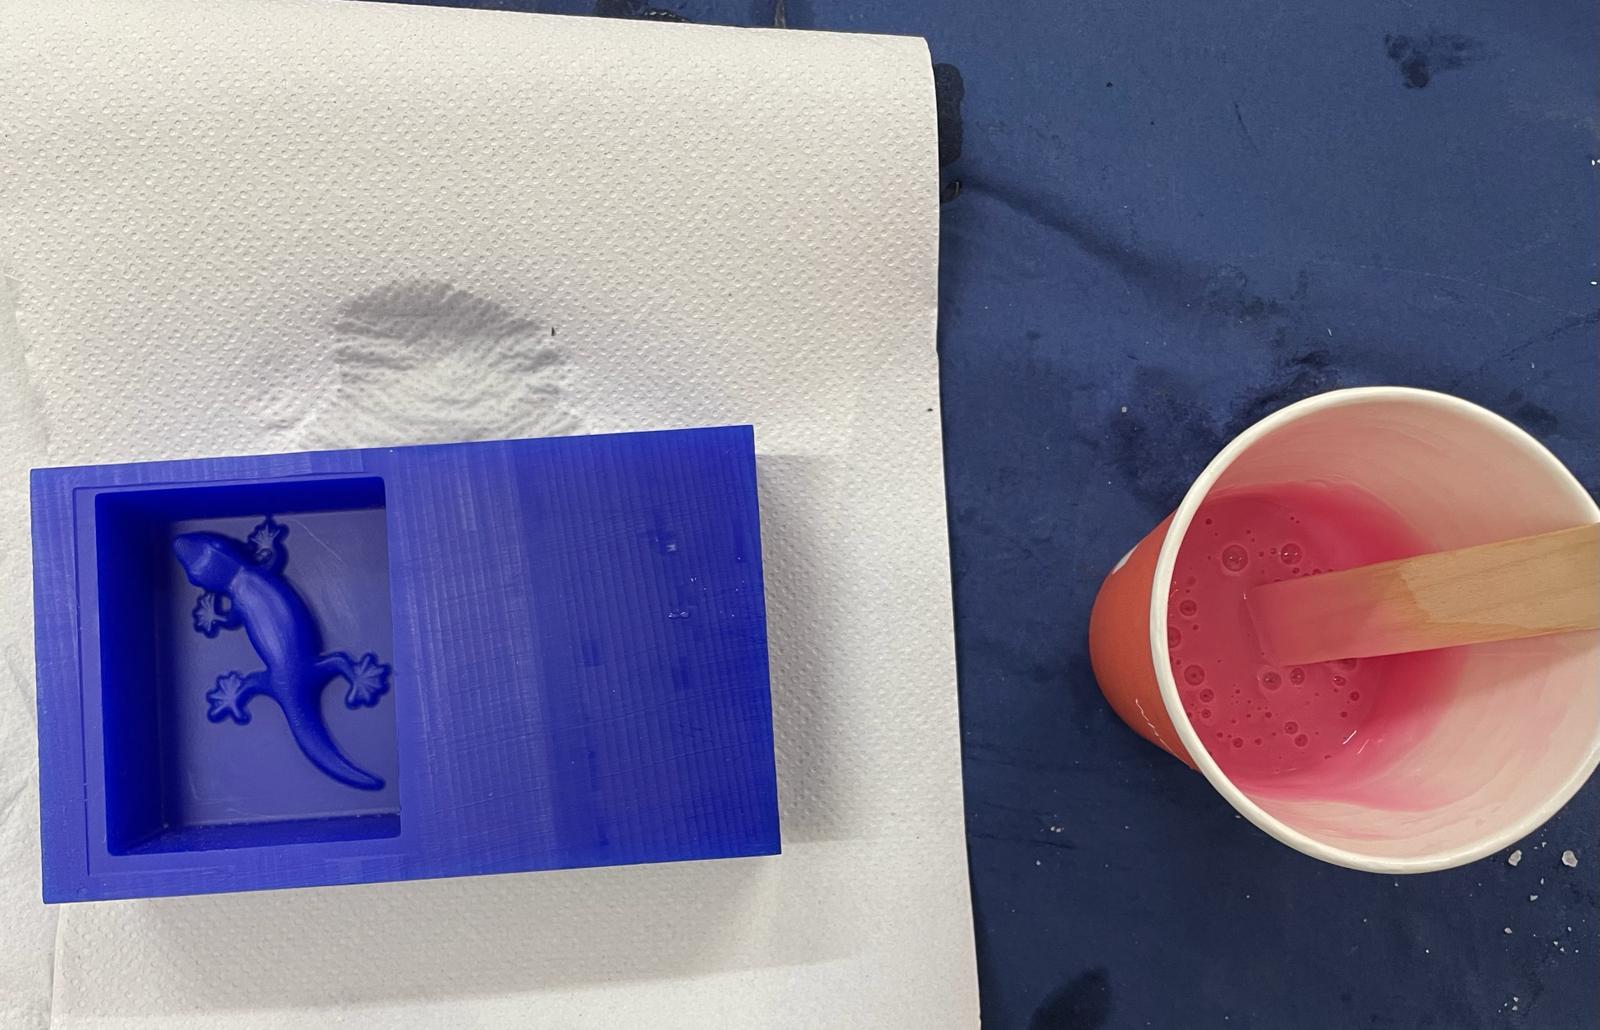
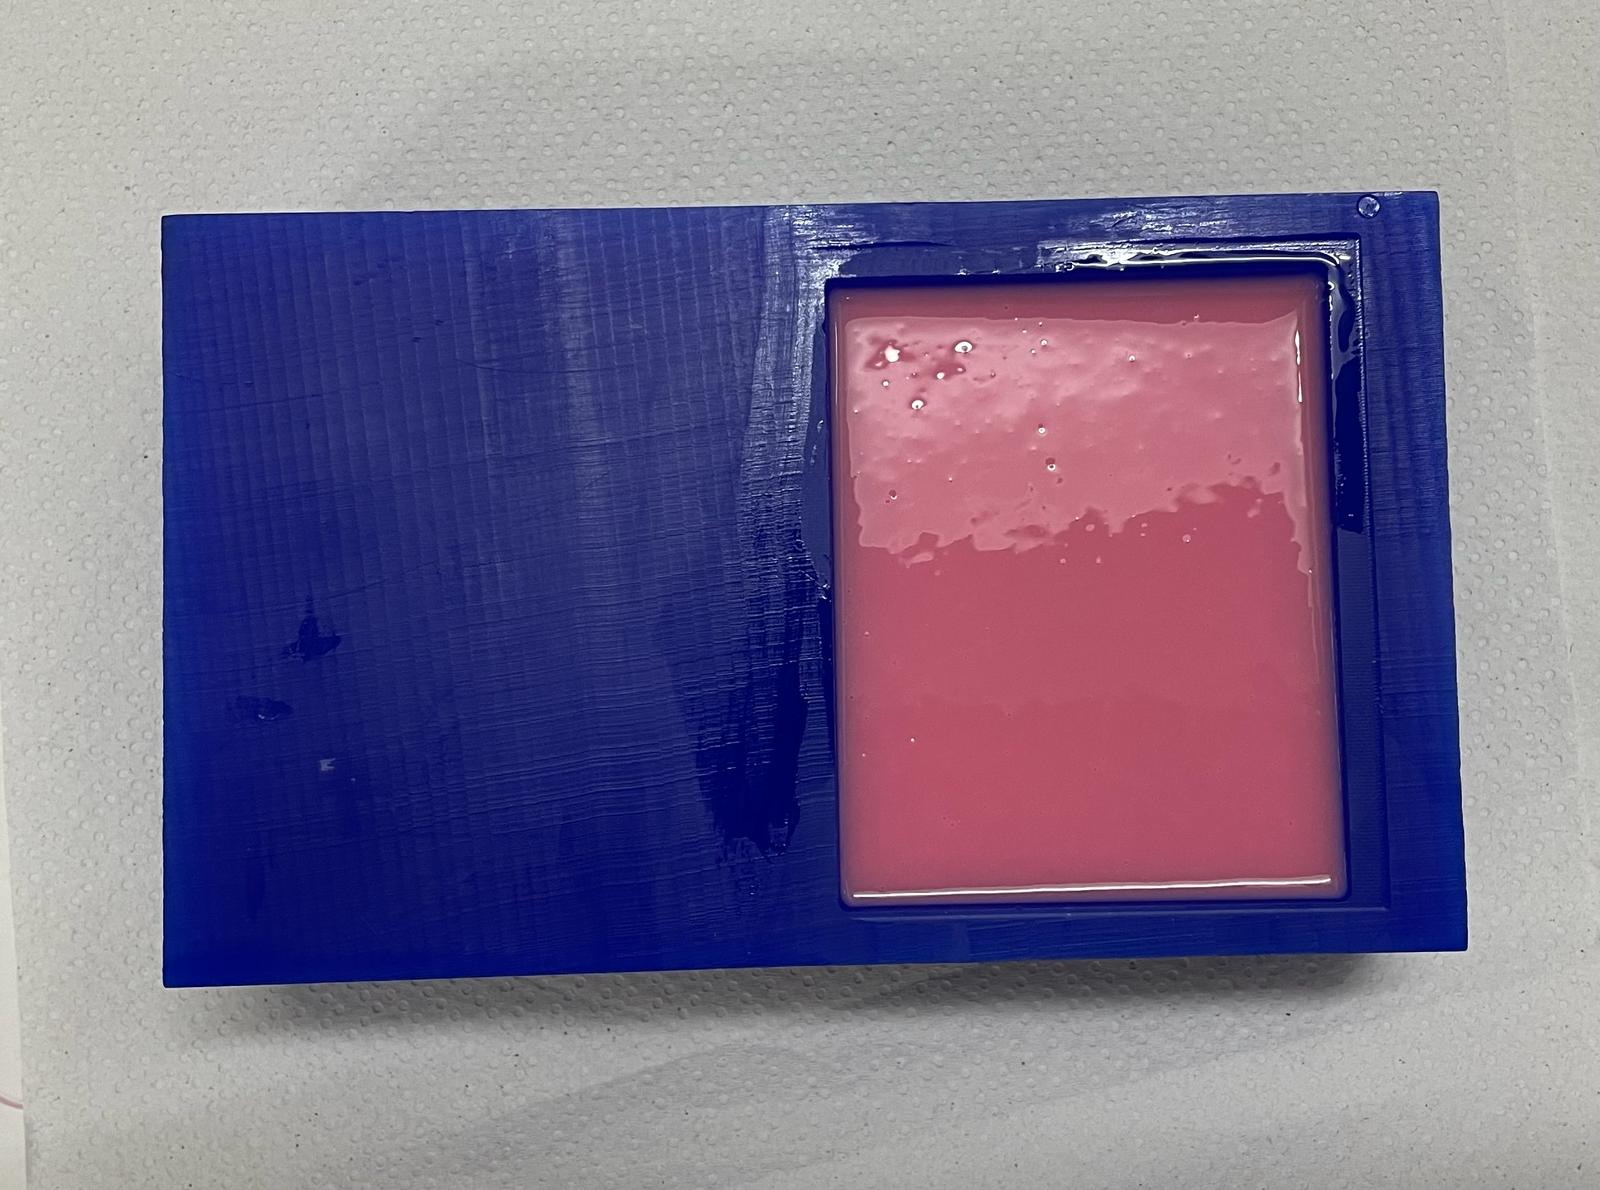
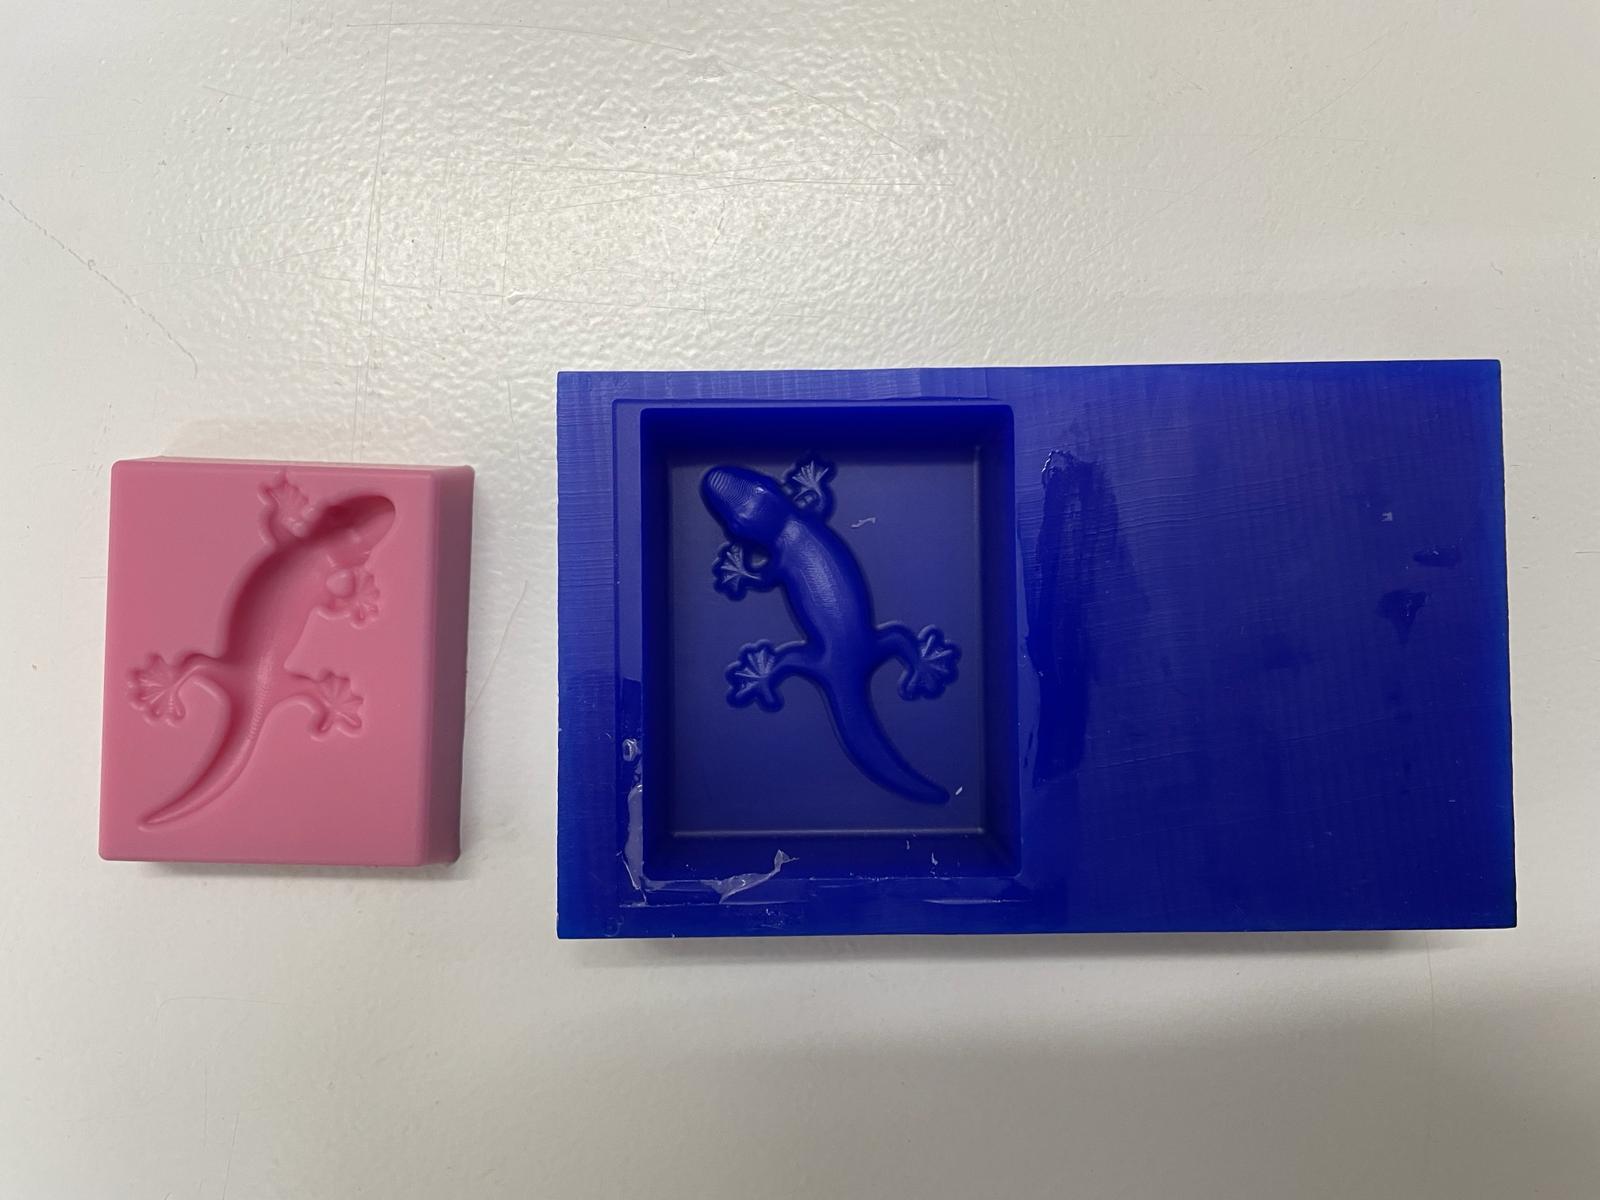
I decided to use the material that is food safe. Based on its composition, I mixed it and then tapped the mold longer to allow the air bubbles to rise to the surface. The next day, the mold had dried, and everything worked very well. I then heated it in the oven at 100 degrees Celsius for about 4 hours to ensure all harmful substances evaporated.
Casting
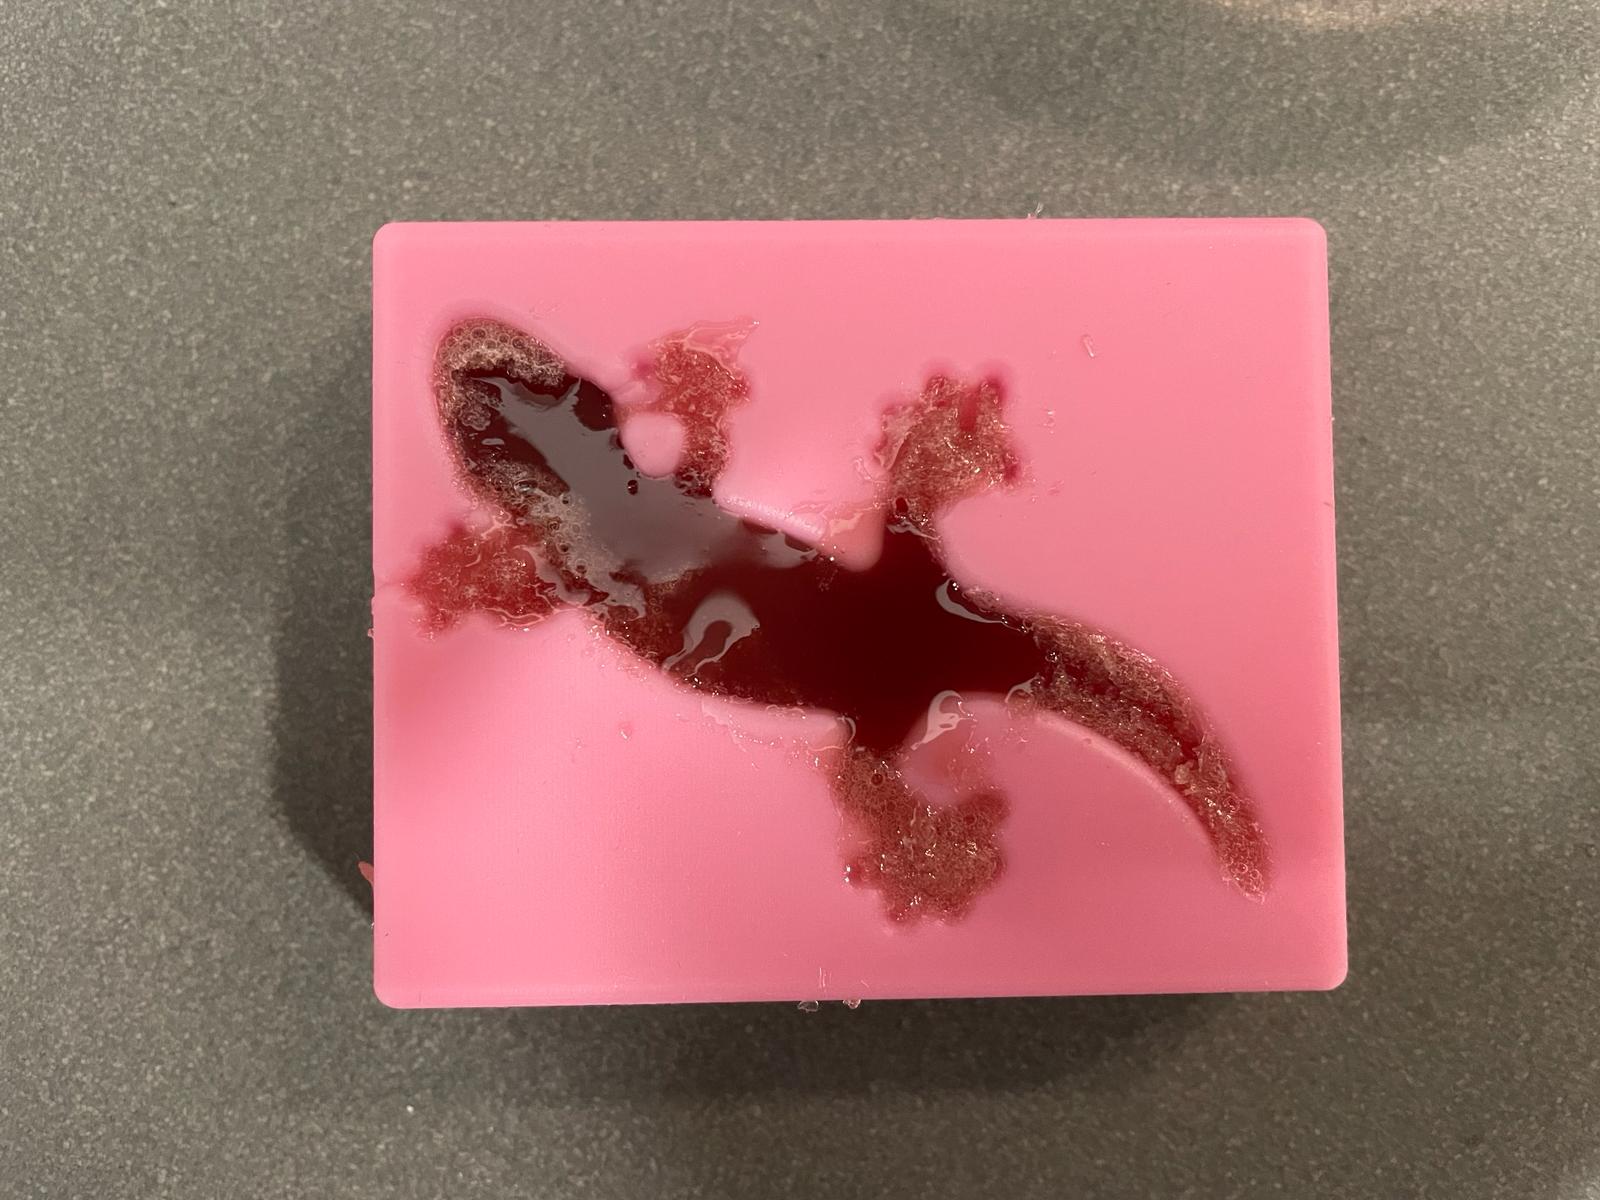
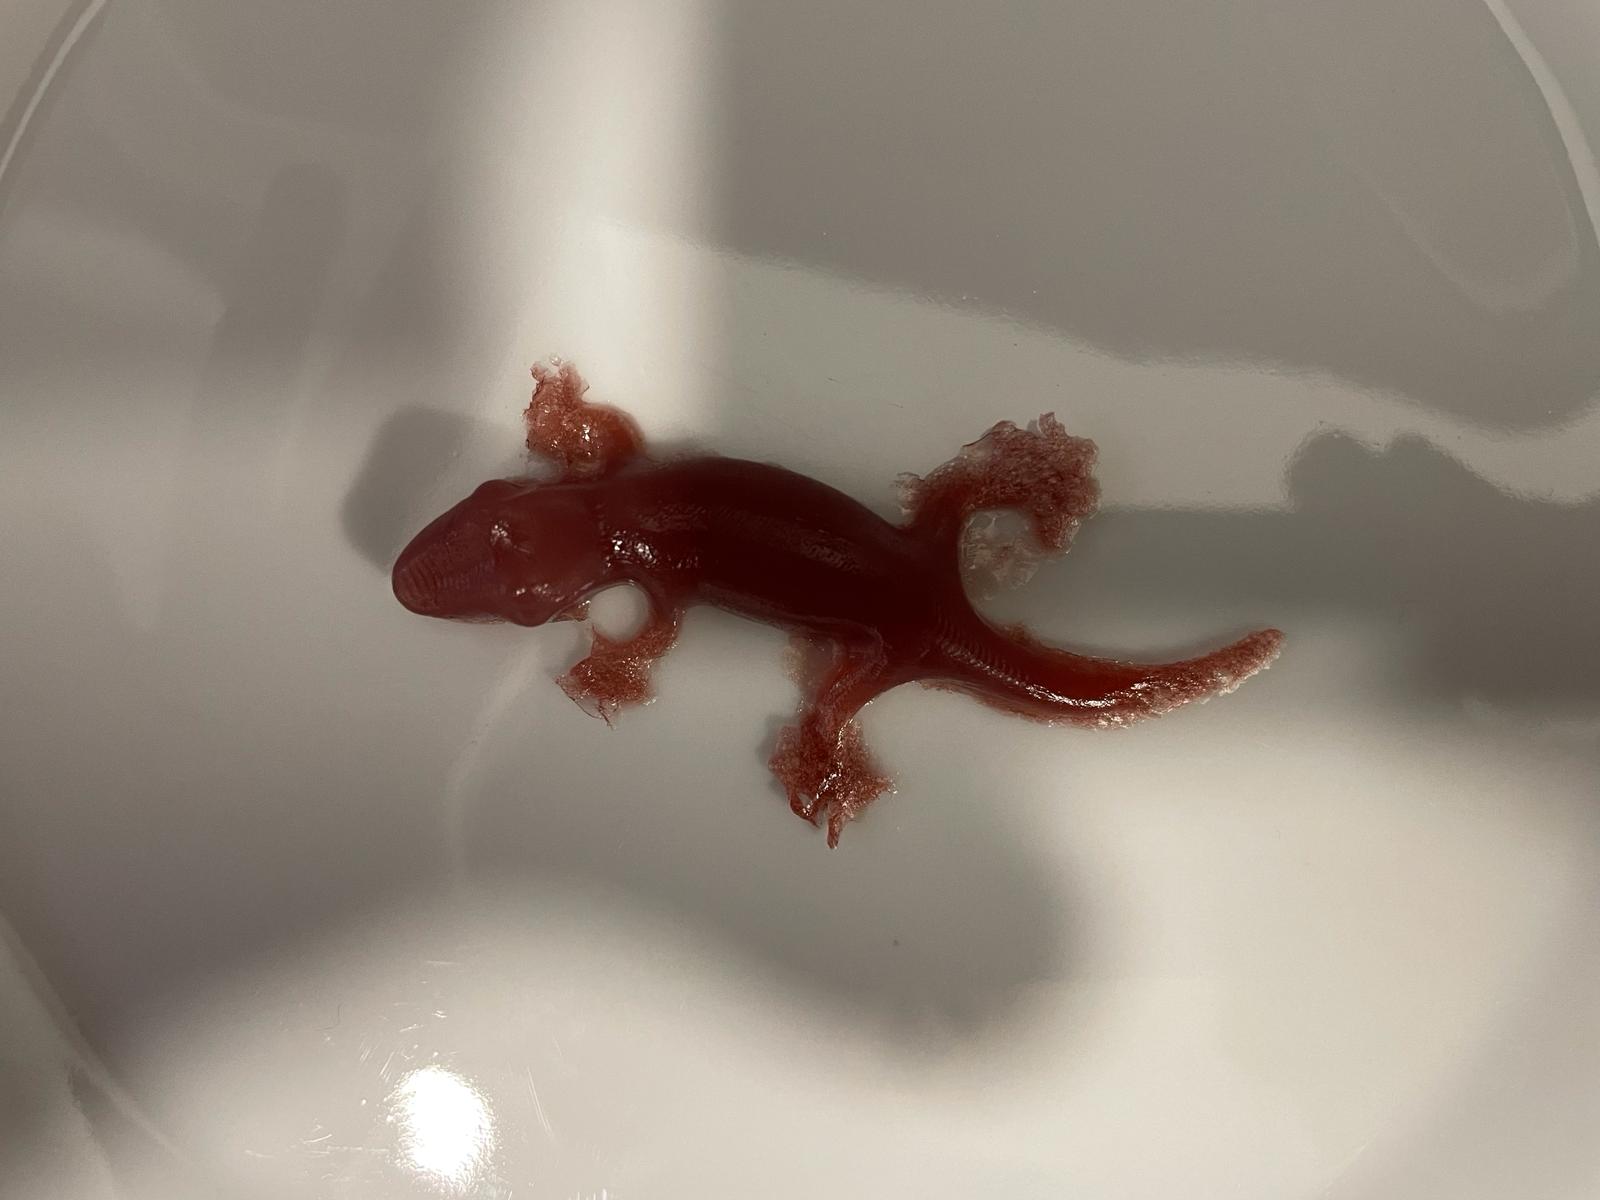
For my final project, I am considering making fruit gummies that are conductive. To test the conductivity and consistency, I tried making the gummies using the salamander mold. I heated grape juice, lemon juice, and agar-agar in a pot and then poured the mixture into the mold. After about 10 minutes, I was able to remove the finished salamander. Everything worked well. However, for the next mold, I would not make individual parts as small as the feet of the salamander in my current mold. They are very delicate and break easily.

Learnings
At the beginning, I thought this week would be very complicated since 3D modeling is still not very familiar to me. Initially, I encountered a few difficulties. It would have been better to start directly with Rhino instead of starting with KiCad and then moving to Rhino. But after I created the 3D model, everything went smoothly and was a lot of fun. I am considering creating more molds for my final project.
Group assignment
On this page, you will find all the information regarding to our group assignment.